By Mel Paradis
–
When we purchased our home in Tetonia, Idaho, nine years ago, you could say I was a gardening neophyte. My husband, on the other hand, had honed his green thumb cultivating alongside his grandfather and volunteering at Cosmic Apple Gardens. So as soon as spring broke, we dove right in, quickly digging up the grass to make room for potatoes, carrots, and lettuce.
Neither Jeff nor I thought to write anything down; after all, we had never been responsible for our own garden before. In those first years, we had many successes and a few failures.
Every spring, I would try and recall what it was that I planted where when ordering new seeds and starts. Then, about four years into my gardening hobby, I started keeping track. And so my first foray into garden journaling began.
Journal, Take One
A “garden journal” is a loose term for a system a gardener uses to keep track of the plants in his or her garden. Garden journals can contain observations of nature’s goings-on, diaries of daily yardwork, diagrams of what is planted and harvested where and when, collections of photographs, and resources for all things garden-related. They can be as simple as scribbled notes jotted onto scrap paper and shoved alongside seed packs in a plastic container. They can also be intricate works of art—an heirloom journal, if you will—complete with hand-drawn illustrations of budding fruit plants and memories of meals made with cultivated produce.
My motto: Simplicity is the key to longevity when embarking on any new task. “Don’t overdo it. There is no right way,” shares Judy Allen of Darby Canyon Gardens. Allen, who teaches gardening classes and rents out bed space on her property, recommends, “Do what helps you become more organized and less scattered.”
Method of Sowing
First, decide on a medium that best serves you. Allen’s method of choice is an expandable file for all of her lists and notes. If you don’t quite know where to start, choose a premade garden journal or planner. A quick search at an online bookstore provides many options. Or go with a basic notebook dedicated to gardening to ensure all your information is in one place. For a few bucks more, a binder allows you to add sheet protectors, printouts, and new sections as needed. For the more tech-inclined cultivator, word-processing documents and spreadsheets keep your work legible and easily available with the touch of a mouse. If you prefer a visual record, take snapshots of your crops from sowing to harvesting. These photos may be kept as a personal archive or shared in online garden forums (myfolia.com) or on social media. And if you want to go big, take journaling one step further by creating your own garden blog.
What to Plant
Once you have chosen your journaling medium, the sky is the limit! Again, start simple. Think about what information is most helpful and enjoyable to have. Here are my suggestions to get you started:
Garden Diagram: Draw an outline of your garden beds and mark where you planted certain seeds. This helps distinguish different varieties of fruits and vegetables, and will assist you in rotating crops next year.
Weather: Every year in the Tetons is different, especially these days. Jot down the peculiars of the seasons (i.e., warm spring, hot June, plants slow to mature, first frost last week of July, Indian summer, harvested into October). Or add calendar pages to your journal to record highs, lows, precipitation, and frost.
Plant Profiles: Record how to sow, harvest, and cure plants for future reminders. Make notes on their companions, pH requirements, and fertilization needs. Add empty seed packs to your journal.
Pest and Disease Issues: List the types, successes, and failures of mitigation and what garden bed(s) were affected.
Inventory and Supplies: Keep track of items such as irrigation parts for ease of reordering in the future.
Canning Directions: If you put up any of your garden goods, keep the processing times and recipes here.
Recipe List: Write down a list of different dishes that you made when produce was abundant. This way, it won’t go to waste due to lack of use. (This is especially helpful come zucchini season.)
Seed Inventory: List what you have left and where it was purchased so that ordering and plotting out next year’s garden goes smoothly.
End of Season Wrap-up: Take a note of what worked, what didn’t, and what you would change in the future. Give your plants grades, like Chioggia beets, A; Santee broccoli, D.
Must-Have Refinements
After years of trial and error, I found that a three-ring binder best suits my needs. I’ve divided it into certain sections that I can’t live without: bed diagrams, companion planting printouts, end-of-season wrap-up, and seed inventory. That may change. Each year, I notice details in my diagrams and notes that were superfluous and realize other bits of information went untracked. And that’s what I like most about gardening. It is ever-evolving.
Someday, I’ll have the time and energy to create an heirloom journal, complete with watercolors and stories. Until then, I will develop my three-ring binder to include the bare necessities, and hope that it helps me cultivate more successes and fewer failures.
Recipe
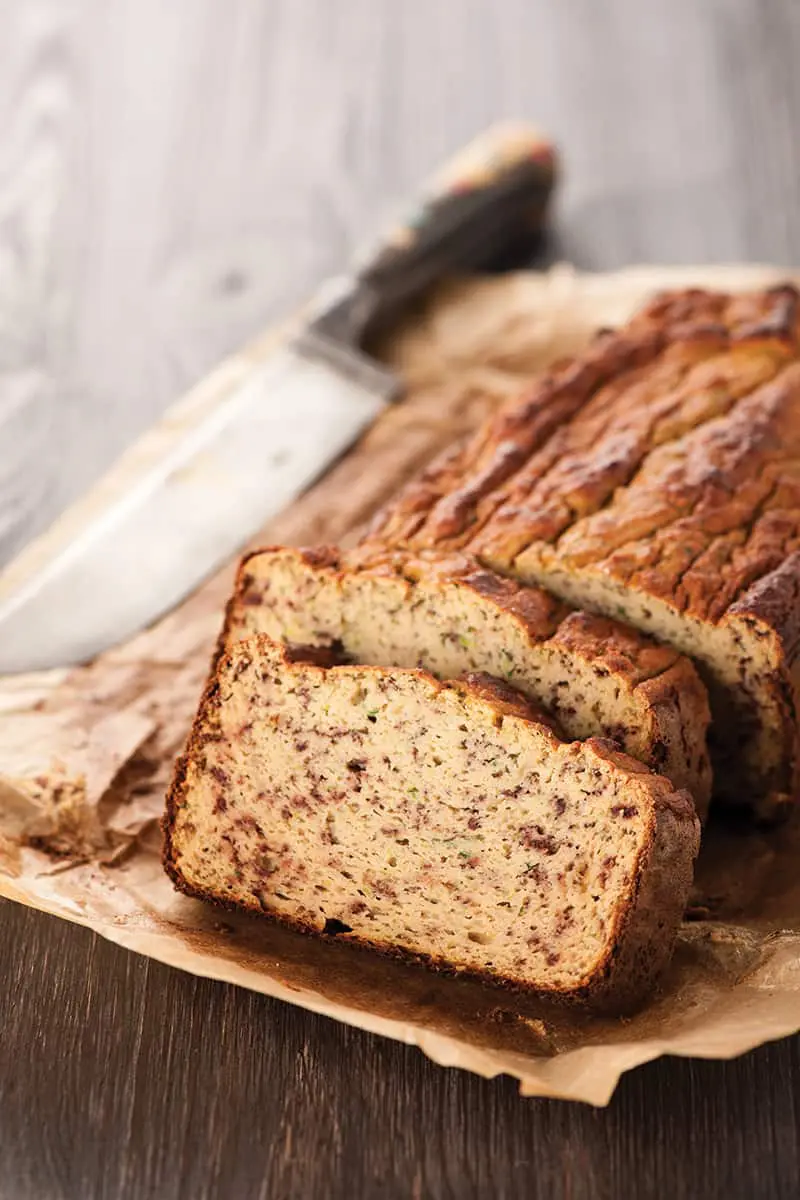
Spiced Zucchini Bread
—
Makes 2 loaves
—
3 cups unbleached, all-purpose flour
1 teaspoon salt
1 1/2 teaspoons garam masala
1 1/2 teaspoons cinnamon
1 teaspoon baking soda
1/2 teaspoon baking powder
1/2 cup sugar
1/2 cup brown sugar
1 1/2 teaspoons vanilla
1 cup vegetable oil
4 small eggs or 3 large eggs
4 cups zucchini, shredded
1. Preheat oven to 350° F. Grease and flour one 9×5-inch bread pan.
2. In a medium mixing bowl, whisk together flour, salt, spices, baking soda, and baking powder.
3. Beat sugars, vanilla, oil, and eggs in a large bowl.
4. Add dry ingredients to moist ingredients and stir to mix.
5. Place zucchini in a towel and squeeze to remove moisture. Add zucchini to batter and stir to mix.
6. Pour batter into prepared loaf pan and bake for 50 to 60 minutes, or until a toothpick inserted into the center comes out clean. Cool on a rack for 20 minutes before removing from pan.
Make it an Heirloom!
—
An heirloom is an object passed from generation to generation.
Coincidentally, an heirloom seed is a traditional variety of seed that has been hand-selected for certain traits and is unaltered from its origins. An heirloom garden journal combines these two ideas: It is a journal for horticulturists to keep track of their gardens’ teachings, and to share—or pass down—that knowledge in a beautiful way. An heirloom journal provides an artistic look back on the garden once it has been put to bed.
Step 1: Be a Good Reporter
Take notes on your garden throughout the growing season. Photograph what you are growing and cooking. Make notes on recipes cooked and meals shared for later reflection. Collect flowers and save your favorite seed packets.
Step 2: Be an Editor
At the end of the season, decide what information from your notebook is most relevant and interesting.
Step 3: Choose your Book
The length of your book will depend on how many growing seasons it covers. Choose a paper journal with a heavy-duty cover that can be purchased through a bookstore or scrapbook supplier. Or, if you have the time, bind your own book by sourcing artsy instructions on Pinterest. Decide on the material for your cover and the number of pages. Buy quality paper and other needed supplies at a craft store.
Step 4: Get Artsy
Draw or paint pictures of your vegetables and flowers. Use these drawings as cover pages for various sections. List your veggies and fruits in order of best to least productive. Glue on pressed flowers as page decorations. And print out images of your plants (see Step 1) from seedling to harvest. Paste a packet of your seed on one page, complete with a photograph and notes about this favorite variety.
Step 5: Get Literary
Next to a photograph of an especially beautiful zucchini, paste another shot of the zucchini bread you made and a recipe card to go with. Share the story of the dinner party you threw midsummer, including who was there and what you made from the garden.