By Kristen Pope // Photographs by Paulette Phlipot
–
With cold temperatures outside, it’s easy for cabin fever to set in, especially if you’re a parent (or homeschooler) searching for alternatives to winter-break idle time. And while the role of teacher may come naturally to some, others may struggle with explaining concepts or supplementing curriculum. But by stepping outside the traditional classroom, we can use the wintry weather as a science learning opportunity.
The experiments that follow offer at-home learning tools to explain winter science concepts to children of all ages. These activities provide educational enrichment opportunities for parents who want to add a little “wow” to the world of science.
A Whale of a
Blubber Mitten:
—
Whales, seals, walruses, sea lions, polar bears, and other marine mammals use a special adaptation called “blubber” to stay warm in bitterly cold seas. These warm-blooded mammals, different from fish, crabs, and sharks, rely on their blubber layer of fat to help their bodies maintain temperature.
This experiment demonstrates the insulating properties of blubber. And while your mitten will only have a thin layer of fake blubber, whales and other marine mammals have a thick blubber coat. Right whales, which live near the North Pole and Antarctica, can have blubber up to a foot thick!
Materials:
2 zipping plastic bags
2 to 3 cups of Crisco (or other shortening)
Large bowl of snow or ice water
Thermometer (optional)
Stopwatch (optional)
Steps:
1. Fill a plastic bag with approximately 2 to 3 cups of shortening.
2. Turn the other bag inside out and carefully place it inside the bag with the shortening.
3. Zip the 2 bags together (one right side out with the shortening inside and the other flipped inside-out, inside the shortening-filled bag). Don’t worry if the bags don’t zip all the way. This is your blubber mitten.
4. Quickly place your bare hand in a bowl of snow or ice water. How cold does it feel? Use a thermometer to measure the temperature. Water near the North Pole and Antarctica hovers near freezing (32 degrees Fahrenheit).
5. Place your hand in the blubber mitten, and then place it back in the bowl. How cold does it feel now? Check the temperature inside the blubber mitten with your thermometer and compare it to temperature inside the bowl.
6. Use a clothespin or tape to attach the blubber mitten to the inside of the bowl (to prevent the entry of snow or water). Leave it there for 5 minutes. What will the temperature be inside the blubber mitten after 5 minutes? After 10 minutes? Check your thermometer to compare your guesses.
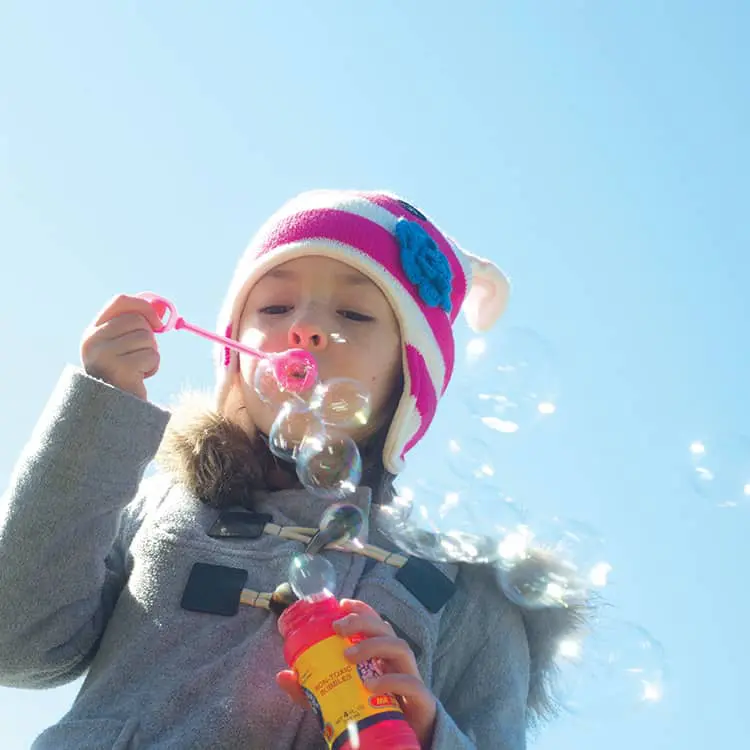
Frozen Bubble Fun:
–
Soap bubbles are created when a thin sheet of water is trapped between two layers of soap molecules, creating a spherical shape. A sphere has a minimal amount of surface area, making it the most efficient shape for a bubble. Even bubbles blown from odd-shaped wands end up spherical.
Have you ever played with bubbles in the wintertime? This activity works best when the outside temperature is 10°F or colder. But feel free to experiment with different bubble mixes at different temperatures—it’s all science!
—
Materials:
Bowl
Bubble wands
Store-bought bubble mix or bubble mix recipe
Stopwatch (optional)
Bubble Mix Recipe:
1/2 cup Dawn or Joy dish soap
1/4 cup corn syrup
1 1/2 cups water
Steps:
1. Create the bubble mix by mixing the water, dish soap, and corn syrup together in a bowl. Or, use a store-bought variety. Note—the thicker the mixture, the sturdier the bubbles.
2. Dip your wand into the mixture and very slowly wave the wand. If you wave it slowly enough, the water will freeze before the bubble bursts.
3. Experiment with blowing into the wand to create bubbles. Notice that the warm air from your lungs heats the water in the bubble mixture, making the bubbles freeze slower.
4. Experiment with the store-bought bubble mix and the bubble mix recipe. Which one works better? Why do you think that is? Which bubble mix do you think will take longer to freeze? Why?
5. Wave the bubble wand slowly, and then at varying speeds. Time how long each bubble takes to freeze.
6. Blow bubbles and catch one on the wand. Hold it on the wand until it starts to freeze. After some time, the frozen soap bubble will rupture as the air trapped inside escapes, causing it to crack and collapse. Watch the unique crystal patterns, shapes, and cracks that form.
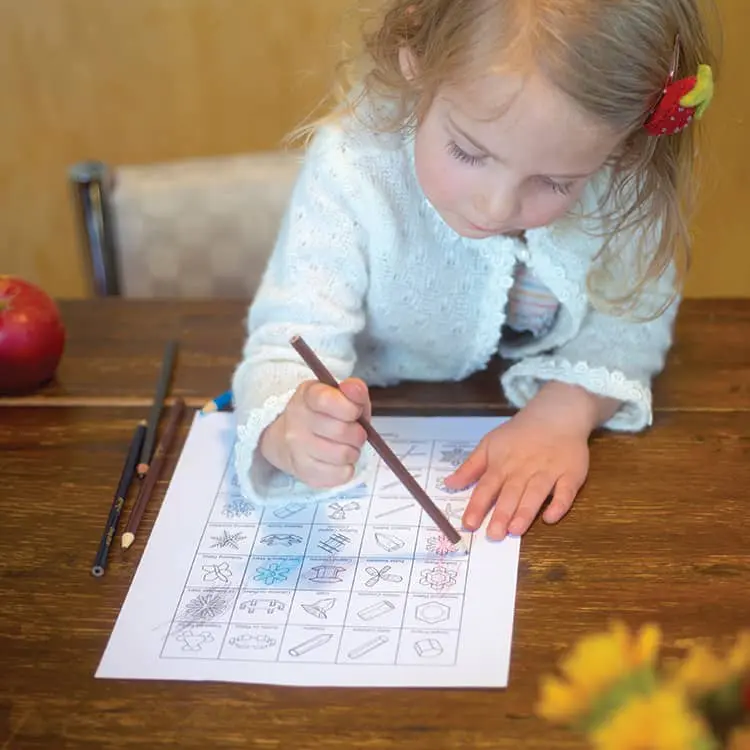
Snowflake Science:
—
Wilson Bentley devoted his life to snow science and discovered that no two snowflakes are alike. He practiced photomicrography (a fancy way of saying he photographed snowflakes underneath a microscope), taking the first-ever photo of a single snowflake in 1885.
Be a modern-day snowflake scientist by making observations about the variations in snowflakes. While no two are exactly alike, they do share characteristics and features. Print out the chart listed below to help you identify different snowflakes features.
Materials:
Printed copy of snow crystal chart its.caltech.edu/~atomic/snowcrystals/kids/snowtypes.jpg
Warm clothes
A snowy day
Dark construction paper
An outdoor table
Microscope or hand lens
Markers or crayons in 3 different colors
Steps:
1. Print out the snowflake chart from the Web address above.
2. Dress warmly and go outside on a snowy day.
3. Collect a single snowflake on a sheet of paper and bring it to an outdoor table.
4. With a microscope or hand lens, take a close look at the snowflake. What shapes do you see?
5. Look at the snow crystal chart and use one of the markers or crayons to circle the shapes that you see.
6. Collect 2 more snowflakes and repeat steps 4 and 5, using a different colored marker for each snowflake.
7. Compare the shapes that you circled. Did the snowflakes have any shapes in common? What similarities did you notice? What differences did you notice?
8. Hypothesize! Why do you think snowflakes have certain similarities and differences? Do different storms have different types of snowflakes? Try this experiment again the next time it snows and note any variances.
—
Older kids can expand their study by becoming snowpack scientists. Contact the Bridger-Teton Avalanche Center for information on local classes and events.