
By Jeannette Boner // Illustrations by Julie Millard
—
Growing up in the bowels of Pittsburgh, Pennsylvania, my father was an organic gardener before infomercials started pushing compost receptacles in between Sunday morning news shows. My mother incorporated slow food practices long before “slow food” became the phrase that redefined a return to the heart of sustainable, homegrown, and handpicked foods. I’m bragging a bit, but my grandfather reminds us that if everyone knew how to grow a zucchini in a Victory Garden, no one would go hungry.
So, growing up, my summers were filled with canning jars, Squeeze-O machines, and the five gallon buckets we used to harvest “at the farm,” a community rent-a-plot just outside the city. Tomatoes became sauce, berries became jams and jellies, and beans, corn, and beets became staples around the winter supper table and, of course, all the cabbage became sauerkraut.
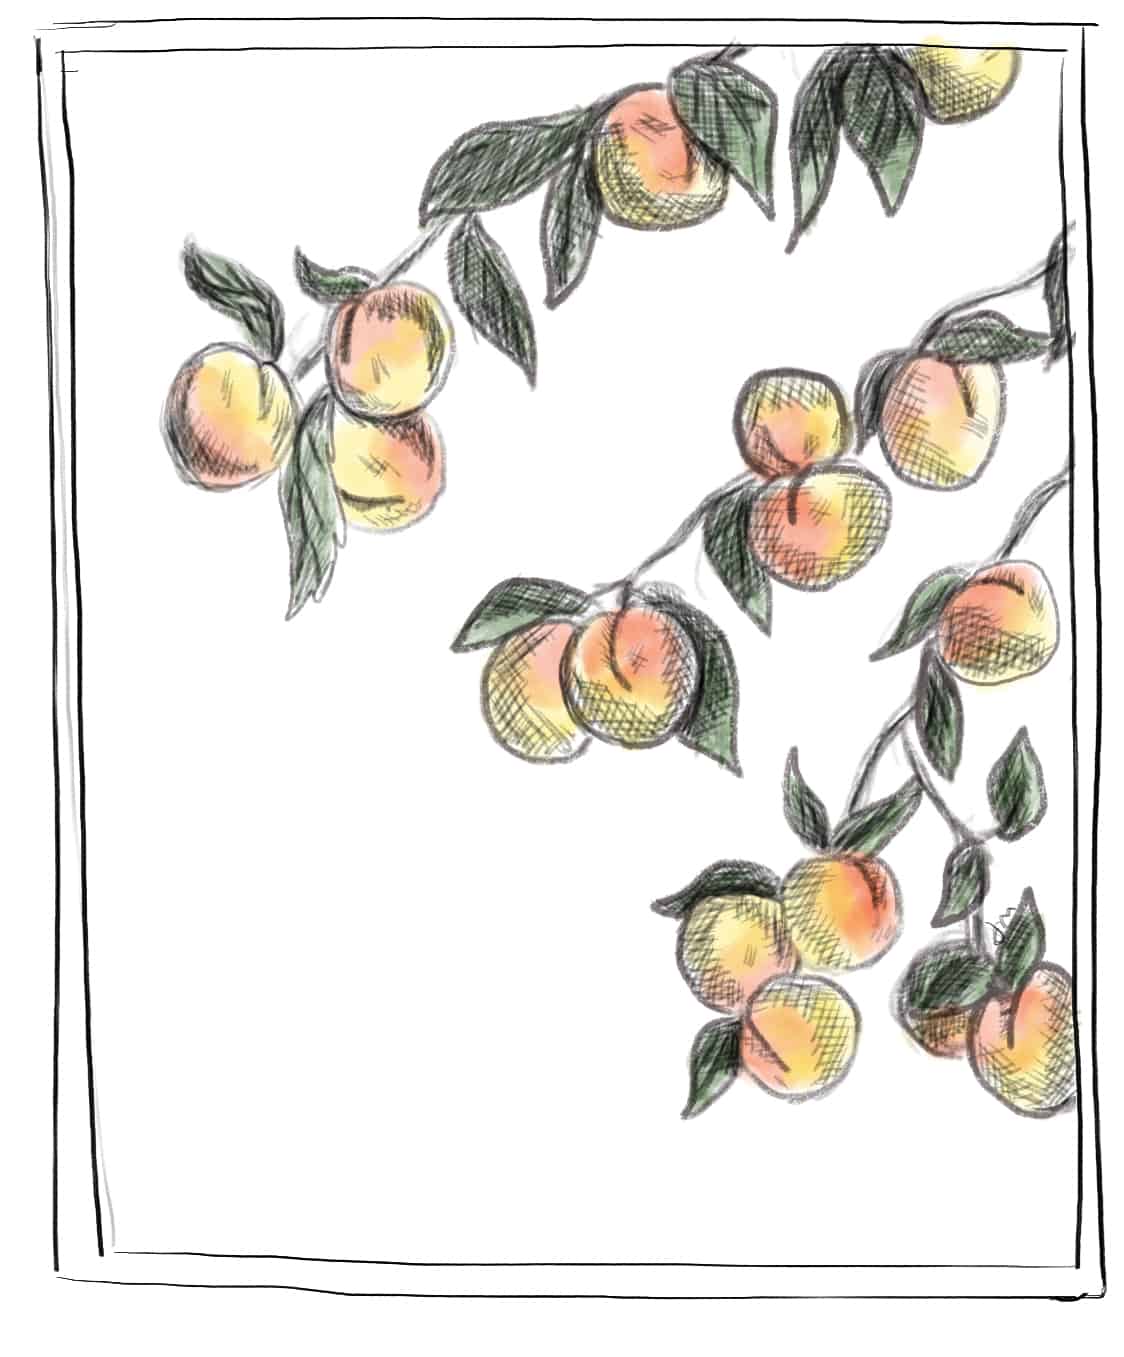
But it was the peaches that always seemed to shine the brightest from the top of our fruit cellar’s shelves. The bottled-up sunshine captured the sweet taste of summer that only a peach could. To open one of these jars mid-February, when winter was wearing on cold bones, was always a good reminder of softer days ahead.
Canning is a pretty straightforward deal: just boil, peel, cut, and process. But when you grow up with a penchant to brag (to your mom) about your Ball and Kerr skills, you stumble upon the secrets that separate the survivalists from the artists through the tried-and-true teacher called “practice.”
Cloudy cans after processing? Yep, been there.
Darkened fruit after a month on the shelf? Total bummer.
Floating fruit? I can help.
Fuzzy jar rims? Oh God, pitch it! You have bigger problems.
Selecting Your Peaches
Let’s talk about choosing your peach variety—the pallet from which you will work. Living in the Rocky Mountain West offers a surprisingly unique varietal cornucopia, despite the early snows and late melts indicative of the high-alpine region.
While Georgia may be the self-proclaimed “Peach State” and South Carolina and California take turns as the number one producers, Utah—number fourteen among the states for peach production—offers beautiful varieties that hold their reds and oranges throughout the canning process. Since Utah is not a top producer, farmers don’t long-haul their peaches. This allows the fruit to ripen on the tree and gives consumers a product that has traveled for only a few hours, rather than several days.
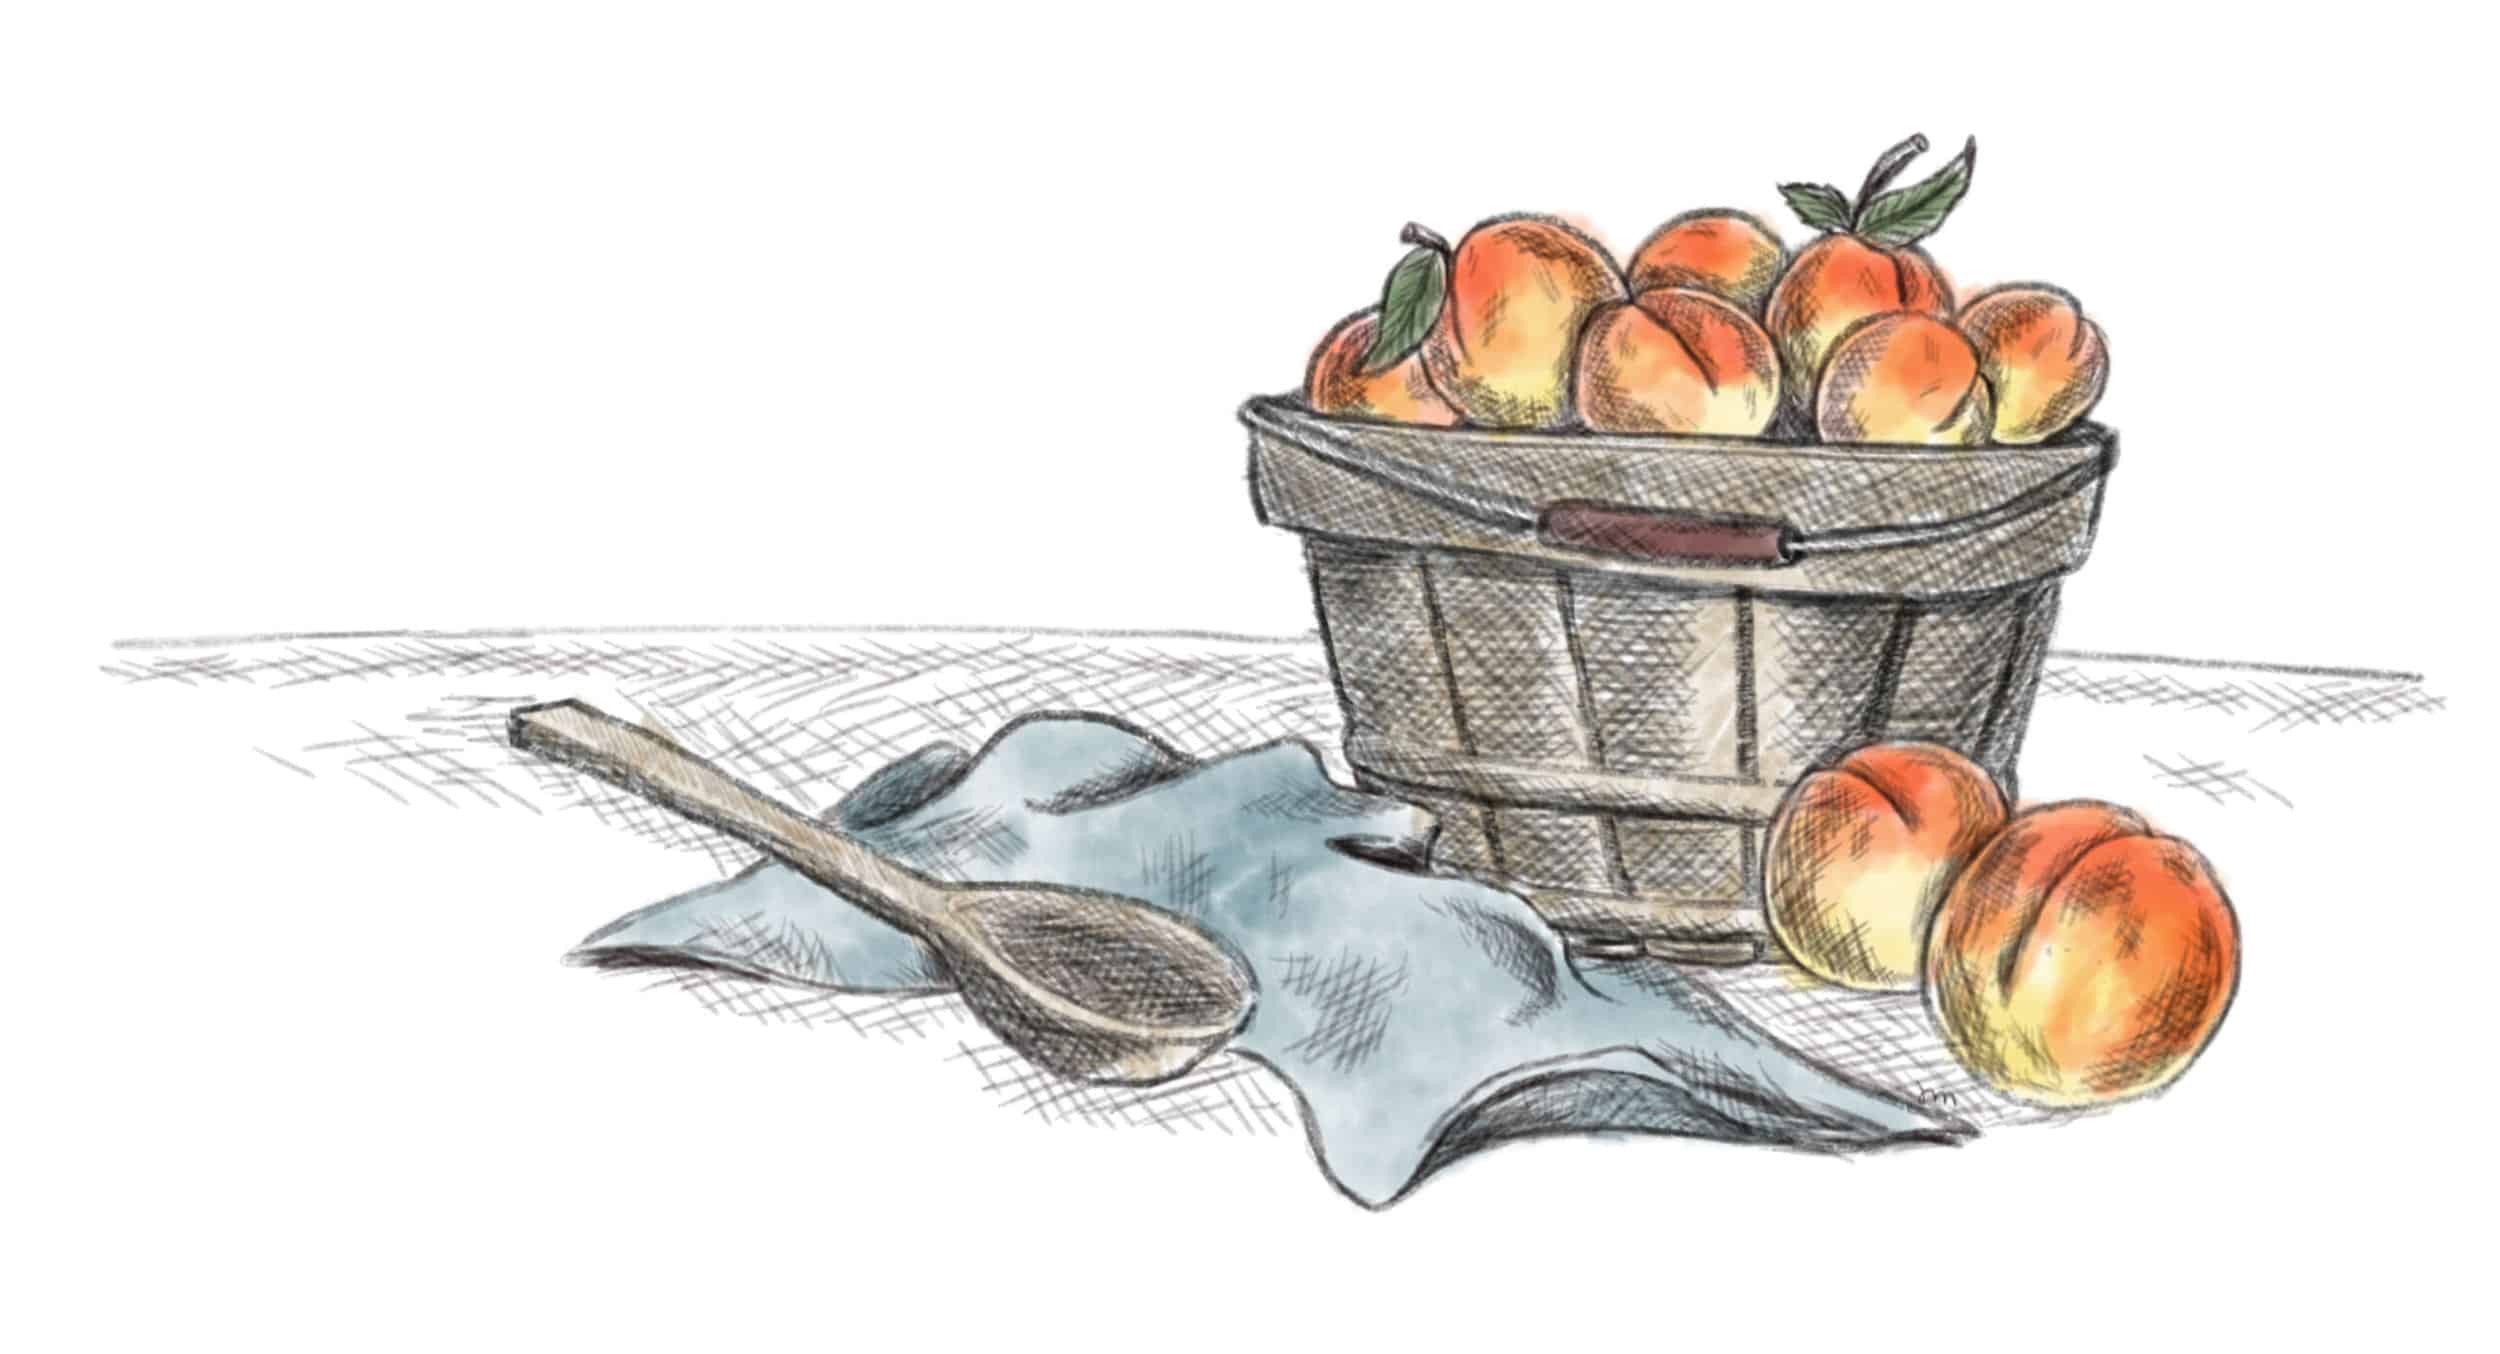
Last summer, I bought a variety of peaches from our local farmers’ market, as well as from regional farm stands, like Woods Gardens in Fremont County, Idaho, (facebook.com/woodsgardens). Utah’s Regina peach and Glohaven peach were the first to hit the markets around the Fourth of July. I was obsessed with the Red Haven peach, a beautiful early-season fruit that my kids consumed faster than I could get fruit into jars. For those who tend to procrastinate, the O’Henrys arrive typically around Labor Day. In each case, these free-stone peaches (“free-stone” refers to the seed in the center of the peach) have a seed that pulls easily from the center of the fruit, as opposed to the cling-stone which, as the name states, makes for a messy affair.
Pre-ordering from your favorite farmer will ensure you secure your desired amount and variety of peaches. (When the pandemic hit, canning gained a new kind of popularity. People finally had the time to learn how to can. This was the first season in memory that I felt competition for fruit and jars.)
Pro tip: When you buy a bushel of peaches, unstack the fruit when you get home. That way, the fruit won’t bruise as it continues to ripen. And never can an unripe peach!
Fun fact: Peach varieties vary in sweetness and firmness. The Glohaven is a firm peach, while the Red Haven offers a softer, melt-in-your-mouth texture. Like most family lore, deciding which peach is better for pie or for canning is an argument best left to the elders.
Peeling Your Peaches
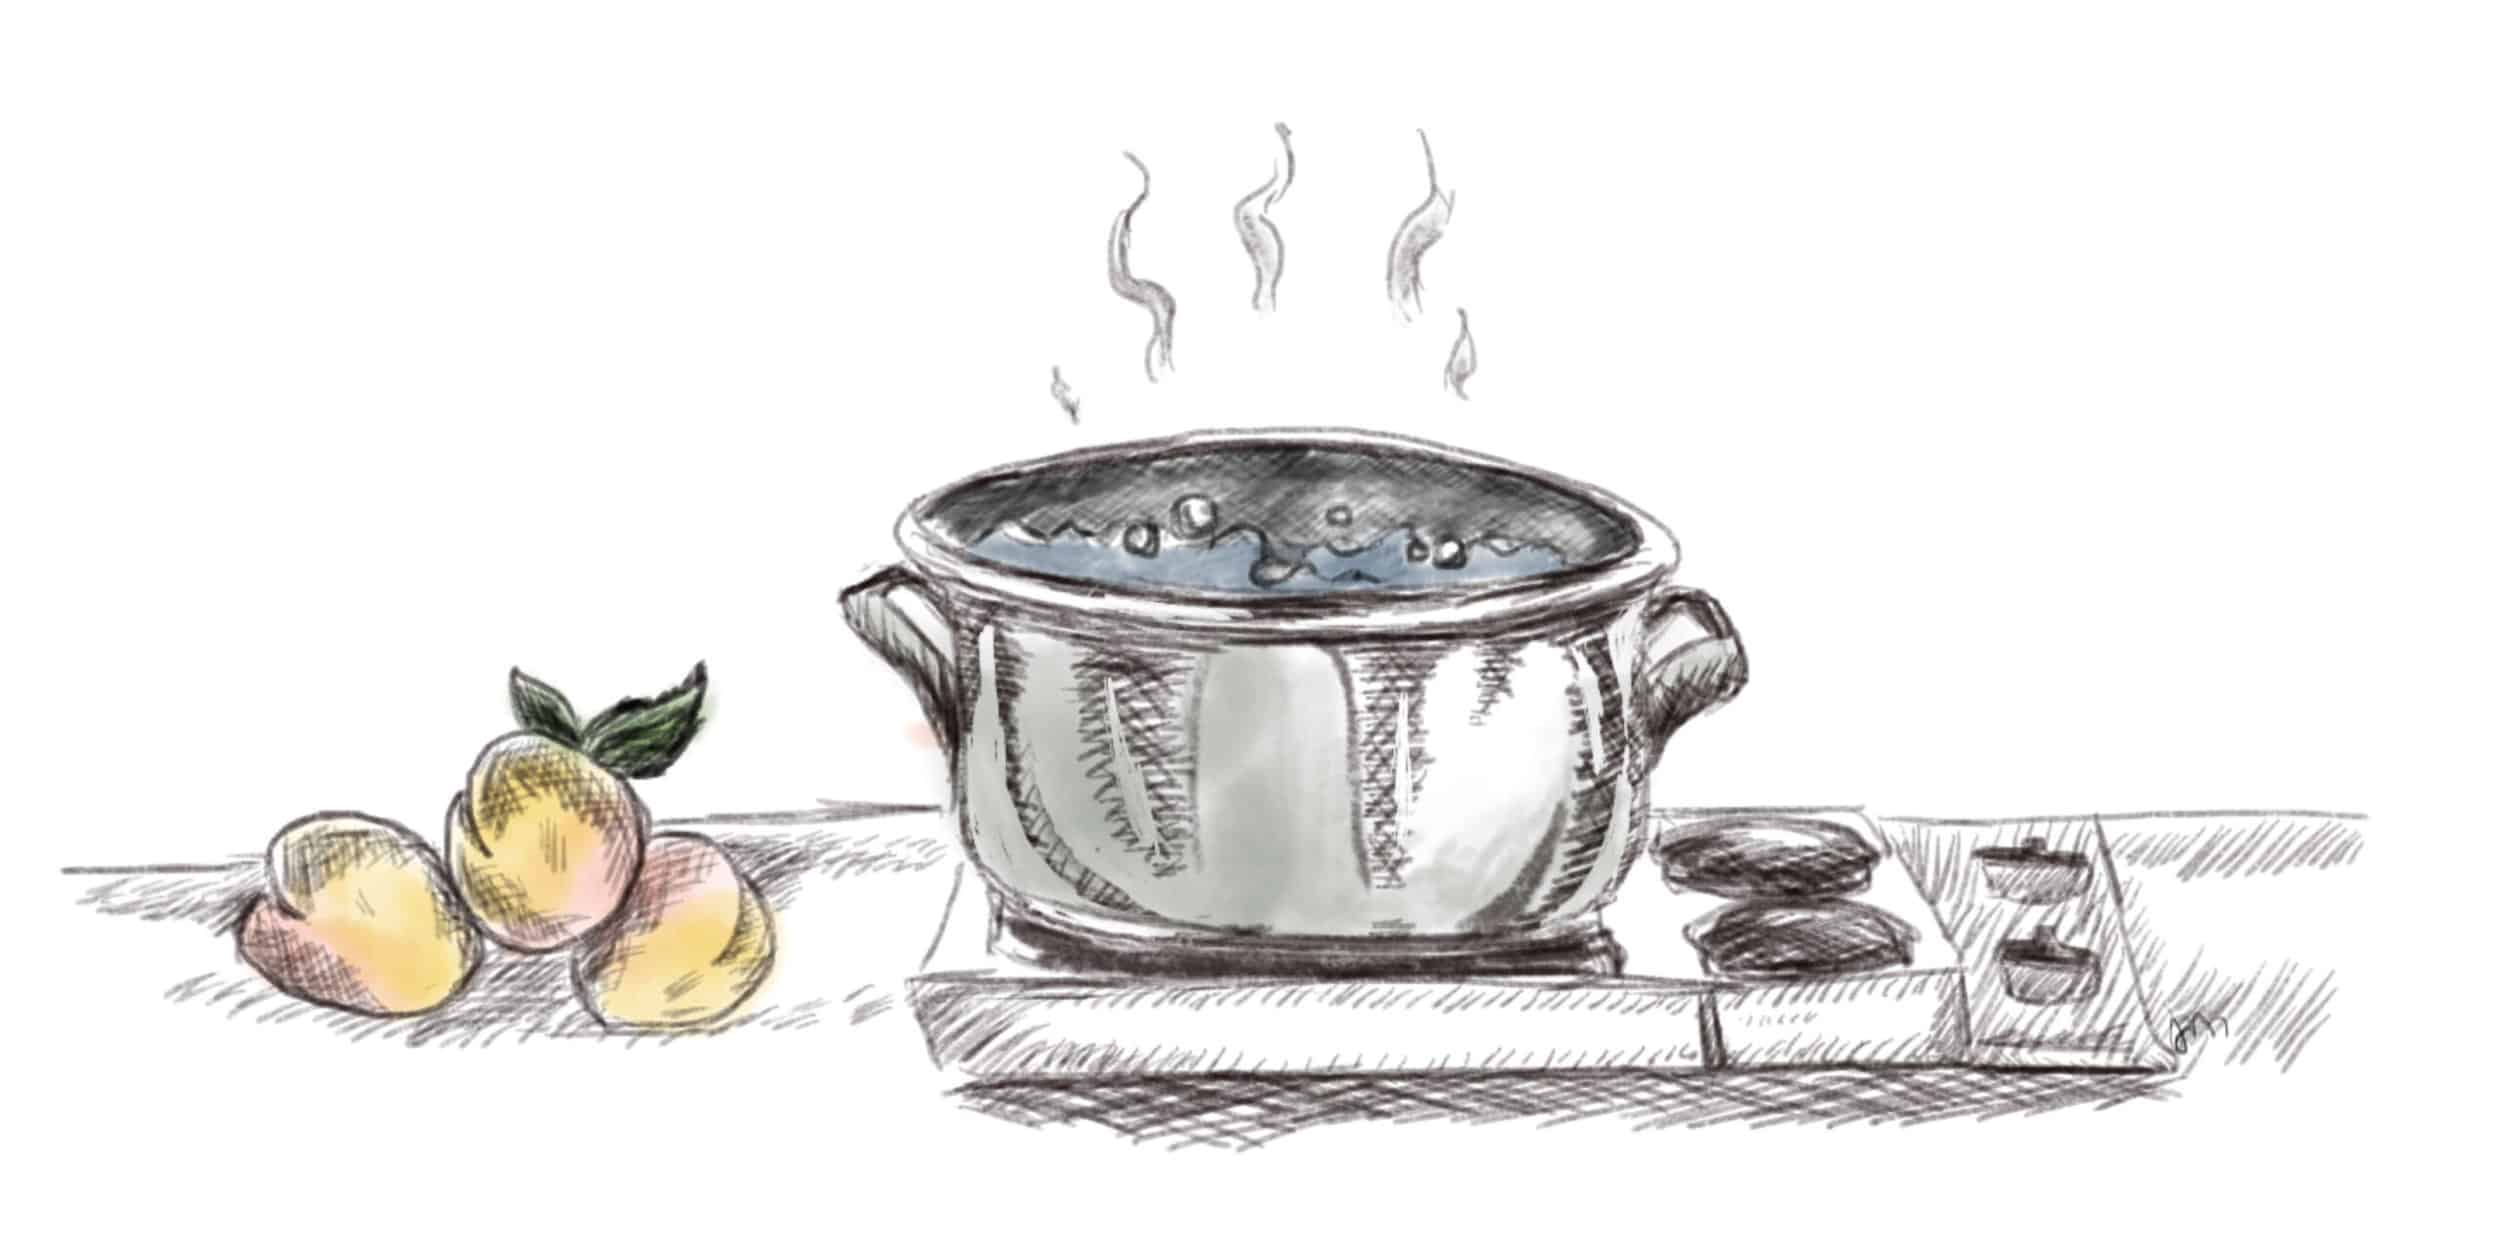
Maintaining the integrity of summer-ripened peaches starts with the peel, so get yourself a big pot of boiling water and an ice bath. Make sure your pot maintains a good rolling boil, and then dip the peach into the hot bath—for 30 seconds, tops! If you go longer, you’ll start to cook the fruit, creating an outer layer that looks mushy once it’s peeled. While the mush is fine, this fleshy, cooked fruit will easily cloud your jars.
Next, transfer your peach from a hot bath into an ice bath to stop it from cooking and massage the outside skin off of it. (I like to peel the peach over a bowl to catch any extra juice.) Then, to keep the peach halves fresh while I work, I add lemon juice and water at a 1:2 ratio, and drizzle it over the batch. I also add the Ball brand’s Fresh Fruit as an additional antioxidant to safeguard against browning. (This step is optional.)
Pro tip: The less time your peeled fruit sits in the open air, the less likely it is to brown. I like to work in batches and refresh the lemon water between each batch. Once I have enough peaches to fill about six quarts for processing, I fill the jars and wipe the rims before screwing down the lids and dropping them into another boiling water bath for processing.
Packing Your Peaches
I like the look and ease of a wide-mouth jar. It’s a personal preference, but not always the best choice depending on what you’re canning. Still, peaches are floaters, like pickles and beets, so I eliminate the float by using a jar with a “shoulder.” Packing a shouldered jar with your slices tucked in tight will keep the fruit from floating to the top, once processed.
Pro tip: I can’t stress this enough—do not fill your jars to the top of the rims! I did this once and had to start the entire process over again because the heat and pressure buildup caused the seal to cave in. I still have the damning photos in a feverish text chain to my mother who calmly told me to start over.
Fun fact: Processing times for canning vary depending on altitude, so make sure to adjust things for our altitude. This sugary fruit is susceptible to bacteria growth, but a longer processing time keeps the bugs out. If you have a fuzzy jar in February, you probably had a misstep in your processing time. Pitch the fruit; don’t try to save any of it.

Canned Peaches
—
A note from the author:
I adapted this recipe from the Ball Blue Book Guide to Preserving with added steps specific to processing sweet Rocky Mountain peaches at high altitude. Enjoy them straight-up, over oatmeal or cottage cheese, in a smoothie, or use them to make a peach pie or cobbler.
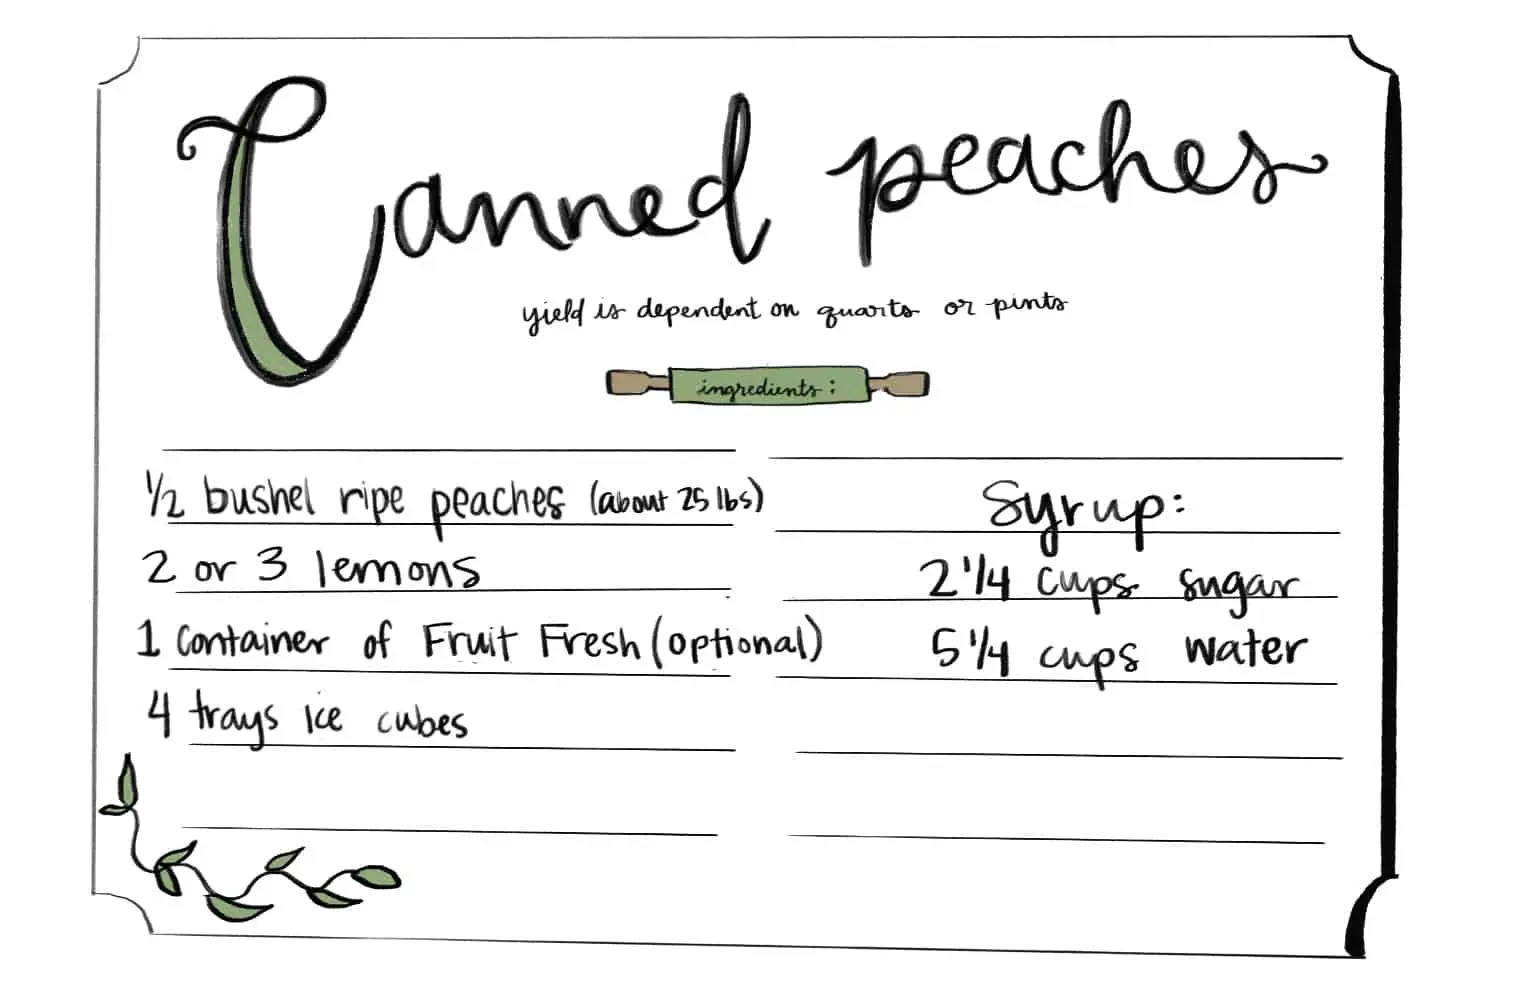
- Fill two large canning pots with water and bring each to a rolling boil. One pot will be for sterilizing your jars, the other for blanching and peeling your peaches.
- Sterilize 12 jars, lids, and rings, rotating them through the boiling water for 10 minutes at a time. Place on a clean towel. (Alternately, you can put the jars in the dishwasher on the “sterilize” setting and keep them hot inside until you’re ready to use them.)
- Fill a large bowl with a ratio of 1:2 lemon juice and water (i.e. 2 tablespoons of juice to 4 tablespoons of water).
- In a medium saucepan, heat water and dissolve sugar to make a simple syrup.
- Fill a large bowl with cold water. Add a tray or two of ice cubes.
(As the ice melts, refresh it with more.) - Dip each peach into a hot bath for 30 seconds, spoon it out, and place it into the cold bath.
- Peel the peaches, half or quarter them, and place them in the bowl with the lemon water. Turn peaches into the lemon bath.
- Repeat the peeling process until your bowl is full, and then sprinkle the fruit with Fruit Fresh, if using.
- Pack peaches in prepared jars. Pour the syrup into the jars, just up to the shoulder (leaving 1/4- to 1/2-inch headspace).
- Wipe the rims clean of any fruit or syrup. Affix jar lids and bands loosely to prepared jars. Place jars into a boiling water bath to cover completely.
- Start the timer when the water comes back up to a boil. Boil quarts for 35 minutes and pints for 30 minutes to comply with processing times at 6,000 feet elevation.
- Carefully remove jars with lifter tongs and allow them to cool. Listen for the sweet sound of popping to assure your jars are sealed for storage. Any unsealed jars (the center of the lid will not be compressed) should be stored in the fridge and eaten right away.