
By Jenn Rein // Photography by Paulette Phlipot
—
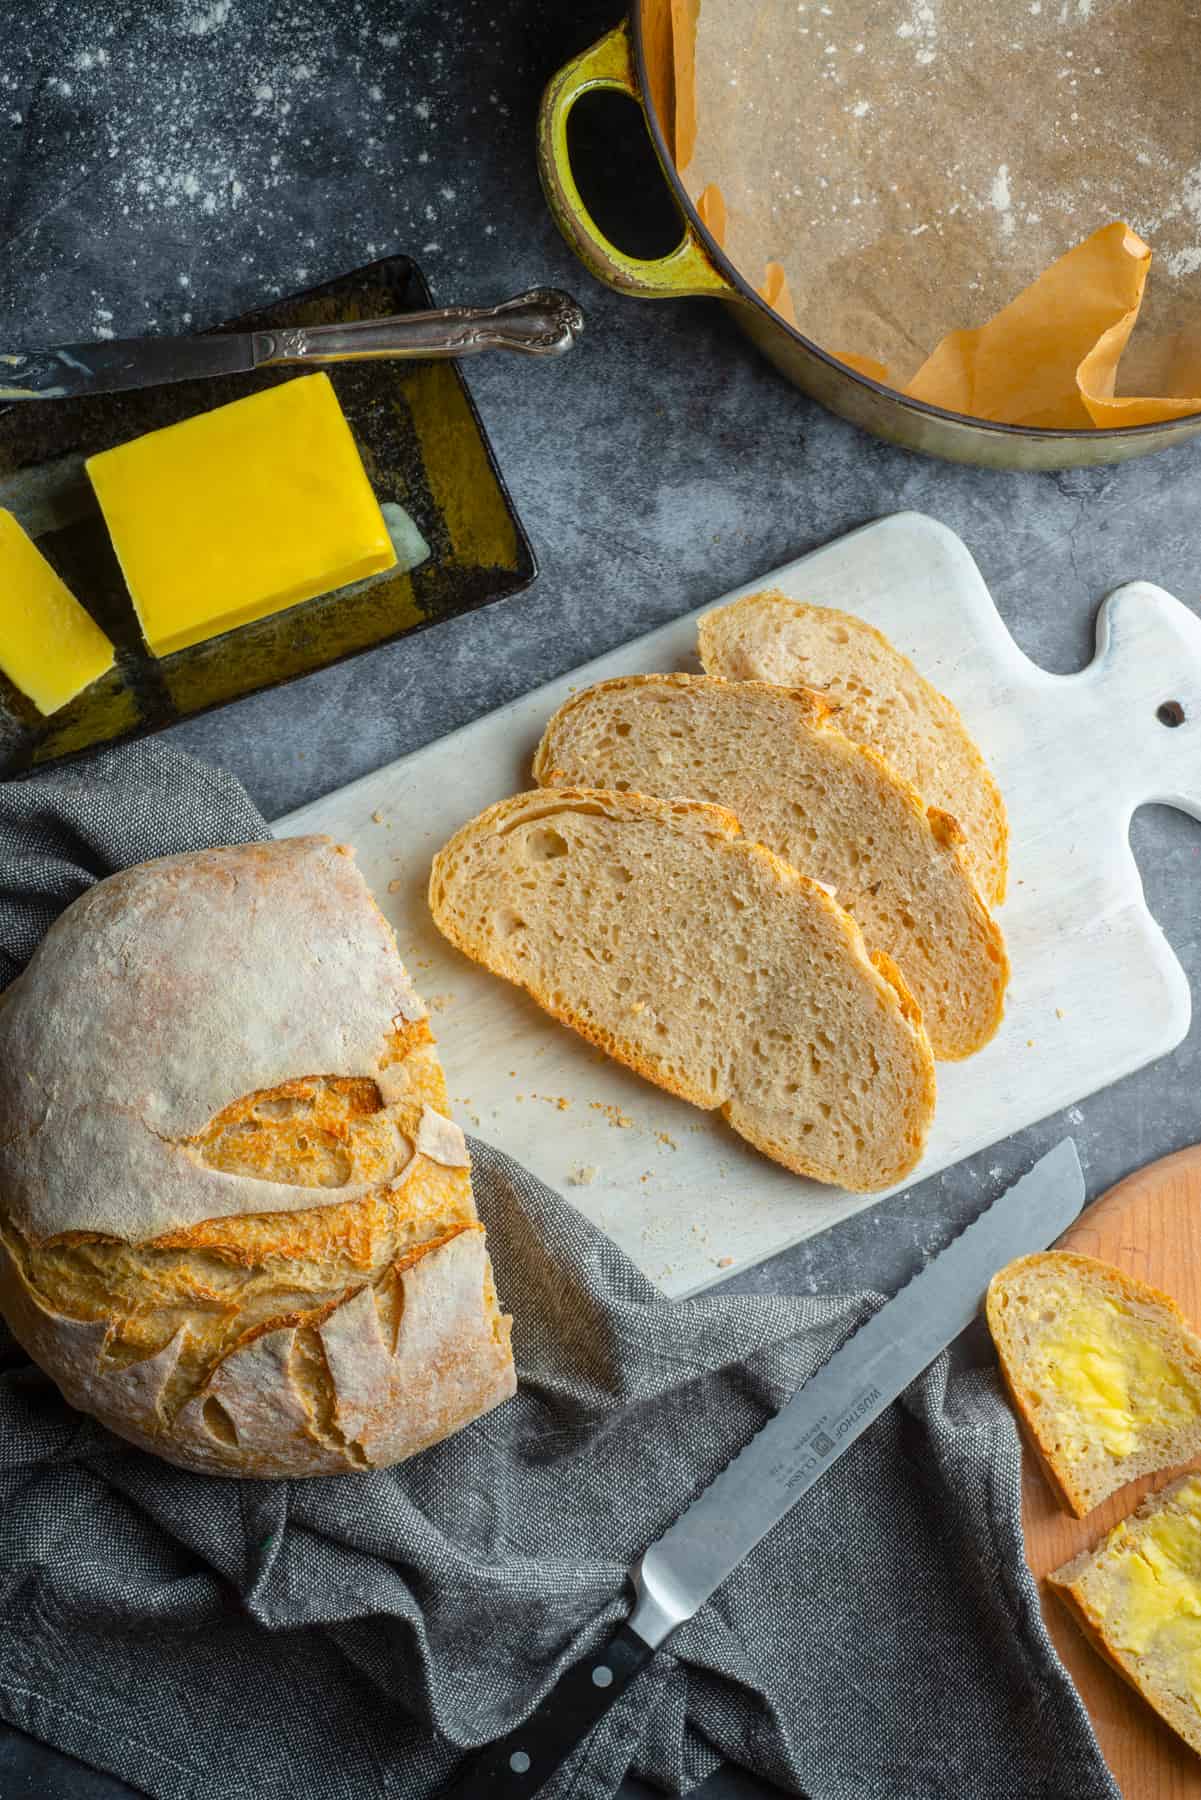
The home baking game has seen a resurgence over the past couple of years, as we continue to embrace what can be done in the name of nesting. And as far as bread goes, the Holy Grail of loaves seems to rest in sourdough, a heavenly loaf known for its distinctively tangy flavor, softness of crumb, and lofty texture. To some, making sourdough bread is a challenge; others have their technique nailed.
Why not try your hand at this ancient baked art, while delighting your palate in the process?
An Ageless Tradition
Using sourdough tactics in leavening started in ancient Egypt around 3,000 BC. This approach to breadmaking crept its way into Europe, ancient Greece, and the Roman Empire, making it the oldest form of leavened bread. It was not until the nineteenth century that baker’s yeast almost completely replaced the use of sourdough as a leavening agent, thus avoiding the time-consuming nature of its preparation.
When the practice of making sourdough on a broad scale declined, so did some vital health benefits. Although sourdough bread still contains gluten, the fermentation process alters the enzymes in the wheat, making it more tolerable to those with sensitivities. Plus, fermentation, along with the high fiber content of sourdough bread, results in a lower glycemic index rating—helpful to those with blood sugar issues. Sourdough bread may also offer more nutrients than other breads, as the microbes created in fermentation degrade the phytic acid (an “anti-nutrient” said to block the absorption of important minerals, like zinc, iron, and calcium) found in some flours and whole grains.

Committing to Bread Science
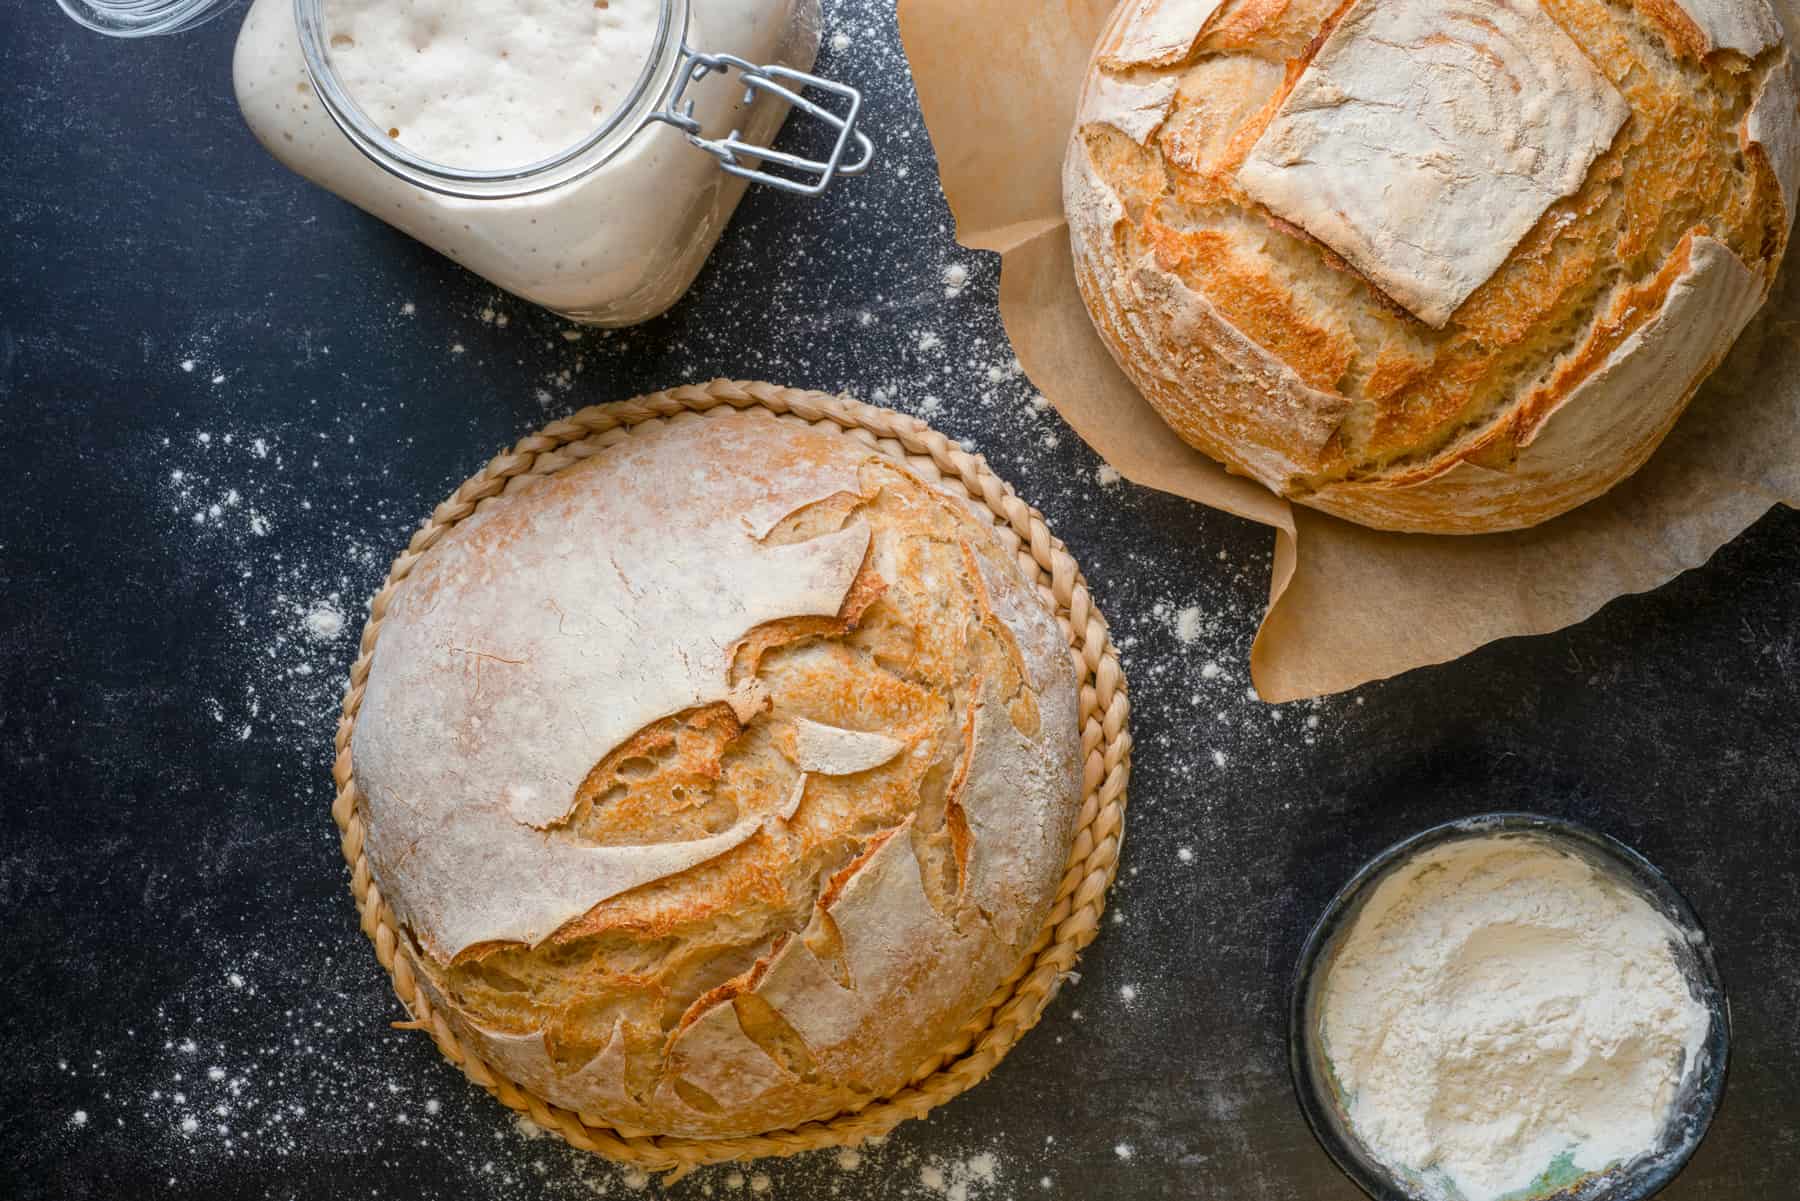
Compared to other recipes, sourdough breadmaking involves extra steps, but it’s not exactly complicated. The process of committing to the adventure and refining the steps is what makes it taste so good! Sourdough bread requires an active starter that needs feeding, even before you make the dough. This first step, considered the “prefermentation,” is often where the novice bakers can trip up.
Creating an active starter can take up to ten days. And, as with most science experiments, trial and error must be allowed. Once that starter comes alive through fermentation, you need to decide when you are going to use it, and if you want to keep feeding it. Continuing to feed a starter that is kept at room temperature is a daily activity reserved only for those making bread every day. Not many home bakers overachieve to this level, so instead, you can store your starter in your fridge, allowing it to go dormant, until you make another batch.
Striking a Balance
There are two schools of thought on sourdough starters. The first includes abandoning the effort to make your own, and instead, asking around to see if someone you know can spare a scrape off of theirs. The other includes starting from scratch and knowing you’ve got this.
Ben Ellis of 460 Bread isn’t here to sugarcoat. “Making and maintaining a starter is easy, but it takes dedication,” he says.
And, as with anything worthwhile, consistency means everything.
“If you got your starter through a long line of hand-me-downs, I would suggest you make your own from scratch,” Ellis says. “Building a great starter takes multiple days of feeding and fermentation, but only requires a couple of minutes a day.”
And, what are you doing during that couple of minutes a day?
Well, you are discarding some of your starter, then adding flour and lukewarm water to what remains. The next day, you do the same. This repetitive feeding schedule of discarding, then adding, helps keep the size of your starter manageable, and should eventually yield a bubbly response. Once your starter doubles in size, feed it only one more time.
Getting to Know Your Dough
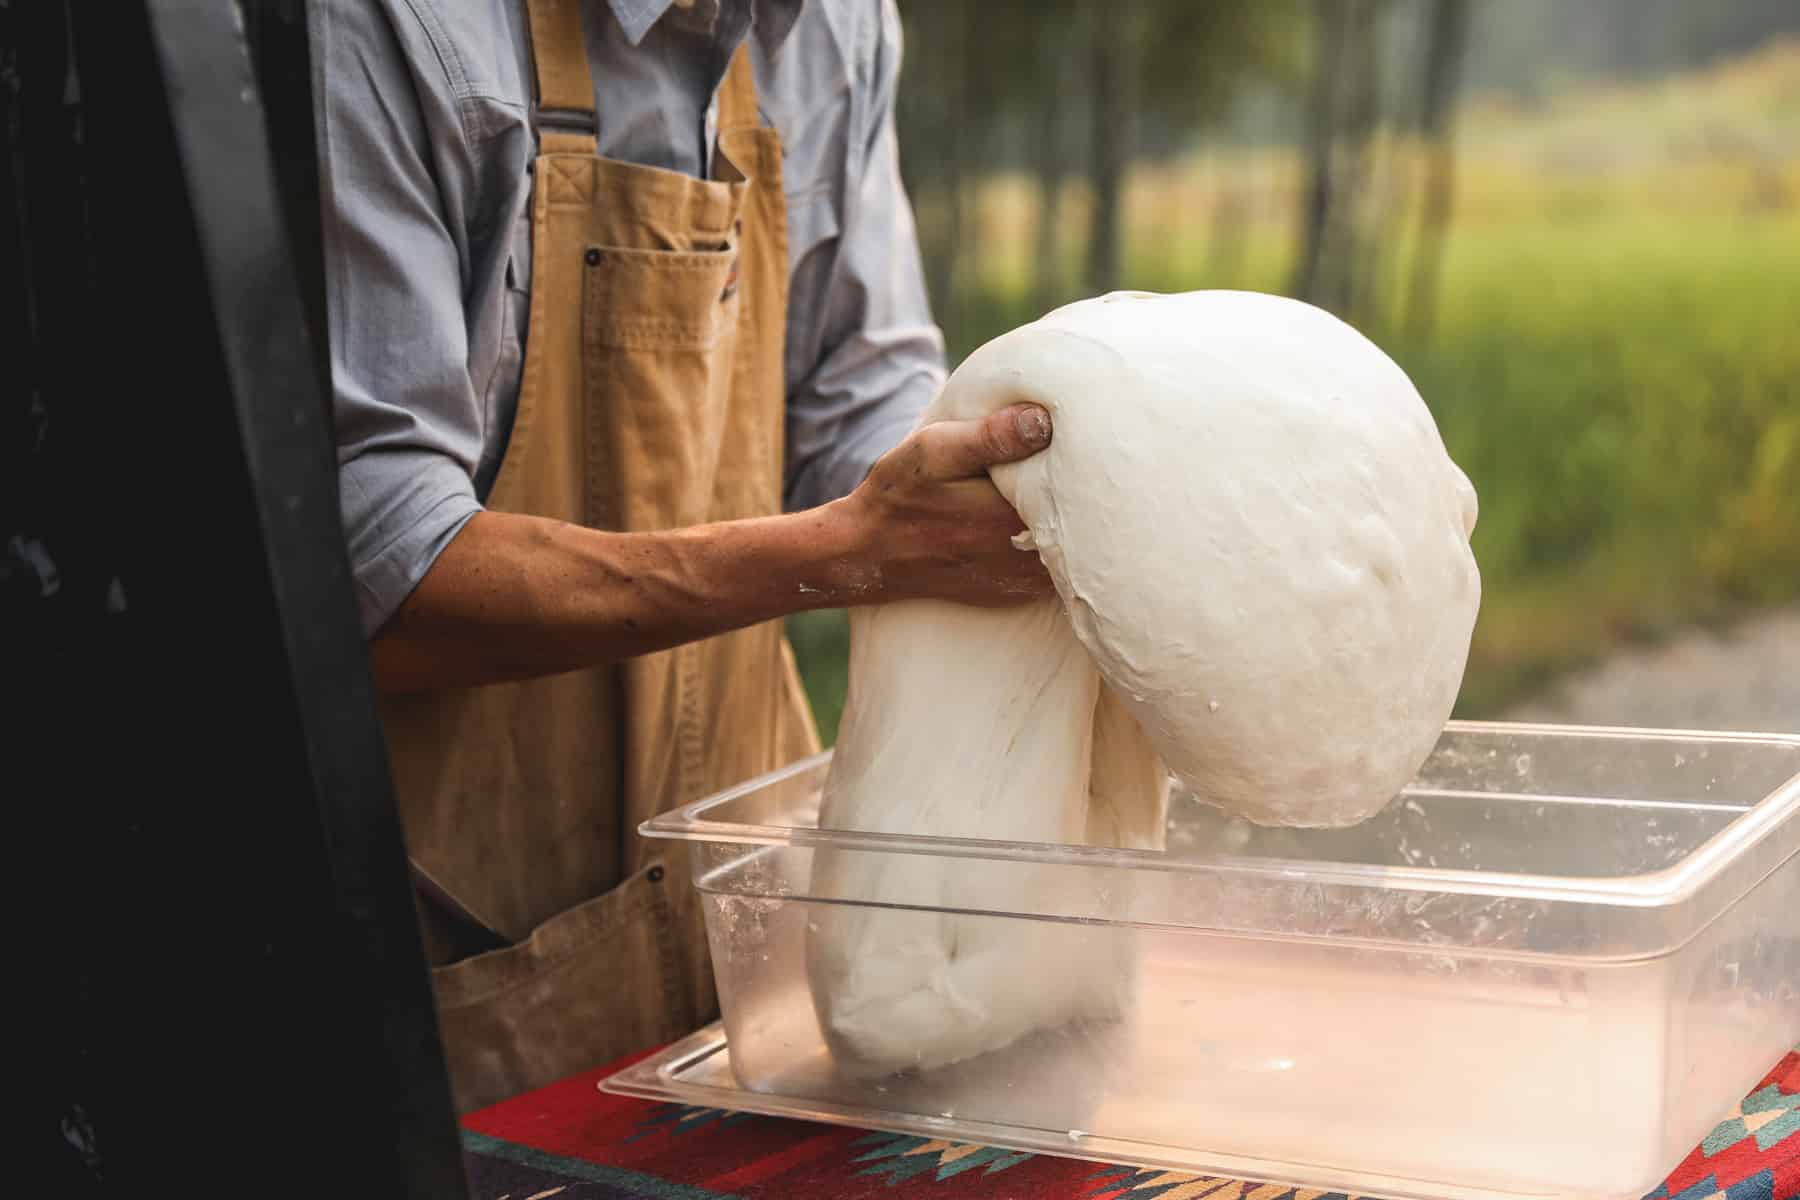
Typically, bakers first add their starter to a little water before adding in all the other ingredients. Blaine Gallivan, of In Season JH, discourages using a mixer for this step.
“Get your hands in there,” he says. “Part of the baking process is getting to know how it’s ‘supposed’ to feel.”
Gallivan uses this method for his wood-fired pizza’s sourdough crust and swears by the recipe from Tartine Bakery calling it “a great baseline formula to work with.”
When he goes to bake, Gallivan adamantly uses his large, sealed cast iron Dutch oven, which traps the moisture coming off of the dough, allowing the loaf to expand and form air pockets within the crumb.
“You need steam to be sure the outer surface doesn’t harden too soon because then it restricts the loaf of bread from expanding and reaching its full potential,” he says. “Steam keeps it moist, and the Dutch oven is the way to [achieve] that.”
When asked how a home baker will know if they have won the sourdough game, Gallivan laughs a little.
“People are really concerned with the look of a loaf,” he says, “But, how does it taste? If it tastes good, you have won. A lot of this can be based on feel, smell, and intuition. There are books out there that can help, but it doesn’t always have to be ‘by the book.’ Trust your intuition.”
Your Moment Has Arrived …
If you’ve always wanted to give sourdough a try, there is no reason why you shouldn’t. True—more steps are involved, but committing to the time that this taste-filled loaf needs will be well worth the effort. Then, once you have an understanding of what is required, you will be encouraged to bake more.
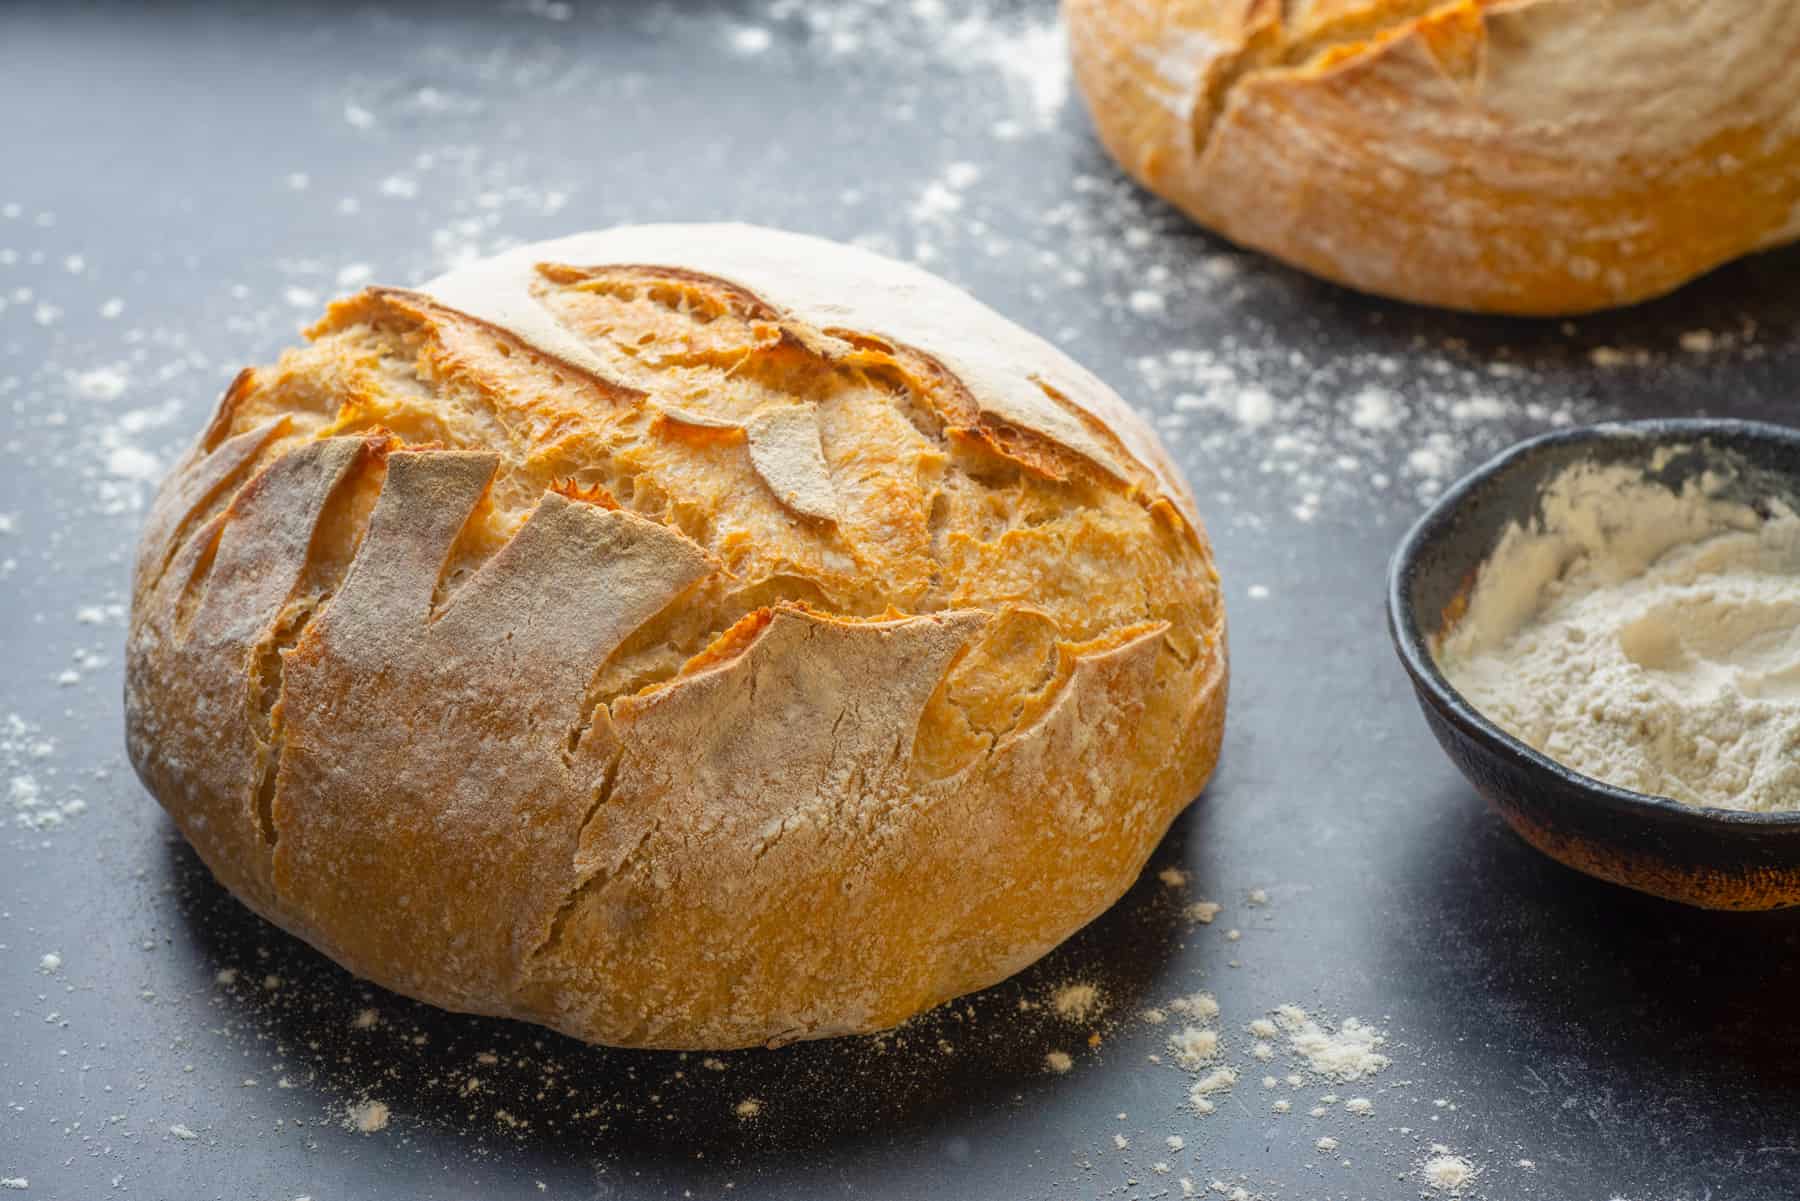
“While baking great bread is easy, it takes dedication,” says Ellis. “But when you do make a perfect loaf at home, it’s like alchemy. You have turned a few humble ingredients into that perfect mix of aromas, crunchy crust, and soft crumb. It’s nearly impossible to stop eating a warm loaf until it’s gone.”
Easy Artisan Sourdough Bread
—
Yields 1 loaf
—
Note: Using whole wheat flour gives your starter a jump start, as it contains more microorganisms and nutrients, which will make your new starter especially happy.
—
For the starter:
Whole wheat flour
Unbleached all-purpose flour
Non-chlorinated water
- Mix 1/2 cup whole wheat flour with 1/2 cup water in a quart-sized Mason jar. Stir vigorously, loosely cover, and then let it sit for 24 hours.
- Add 1/2 cup all-purpose flour and 1/2 cup water to the jar and stir vigorously. (Try to form the consistency of a thick pancake batter. If it is too thick, add more water.) Loosely cover, and let it sit for another 24 hours. You should see bubbles in your starter at this point, but if not, don’t give up.
- Discard half of the starter, then feed it again with 1/2 cup all-purpose flour and 1/4 cup water. Stir, loosely cover, and let it sit 24 hours.
- Keep repeating Step 3 until the starter doubles within 4 to 6 hours of feeding. (This usually happens between days 7 to 10.) Now, the leaven is ready to use.
* If you don’t see bubbles after several days of this process, dump the starter and start over.
**To prepare a dormant sourdough starter for baking, bring it out of the refrigerator at least 24 hours before use. Discard half of the starter, and feed it (see recipe). Repeat the feedings every 12 hours until the starter is active with bubbles within 4 to 6 hours (should take approximately 2 to 3 rounds).
For the bread:
1 cup starter
1 1/4 cup water
2 teaspoons salt
4 cups unbleached all-purpose flour (may need more or less, depending on the hydration of your starter.)
- Combine all the ingredients in a mixing bowl and knead by hand until the dough is stretchy and pulling away from the sides of the bowl. (You can also opt to use an electric stand mixer, but this is not recommended by Gallivan.)
- Give your dough the “windowpane test.” Take a small piece of dough between your fingers and stretch it out. If the gluten is properly formed, you should be able to stretch it out so that you can see through it. If it doesn’t pass this test and is breaking apart, place the dough back into the bowl and knead for a few more minutes.
- Place the dough in a large, oiled bowl and cover it with an airtight wrap.
- Allow the dough to ferment 8 to 24 hours (longer is better) in a warm environment (75°F to 80°F).
- The next day, punch down the dough, shape it into a round by folding the sides into the center, and then place the dough seam side down in a basket or colander lined with a towel. Cover with another towel and allow the dough to rise until doubled (about 2 to 4 hours), in a warm environment.
- Preheat your oven to 500° F degrees with a cast iron Dutch oven placed inside.
- Turn the dough out onto parchment paper. Sprinkle it with flour and score a pattern of your choice into the top.
- Place the dough on the parchment paper into the preheated Dutch oven. (Optional: spray top with water for a crustier exterior.)
- Bake 20 minutes with the lid on. Remove the lid, reduce the heat to 450° F, and then bake an additional 20 minutes.
* Any remaining leaven is your new starter. Continue to feed it if you plan to bake again soon or store it in an airtight container in the refrigerator for future use.
* Recipe adapted from Farmhouse on Boone