
By Sue Muncaster // Photography by Lara Agnew
—
A
hhh, nightshades — a plant family with a bad reputation that also makes a very good soup. This botanical family (Solanaceae) contains more than 2,000 species, most of them inedible and highly poisonous, like deadly nightshade (belladonna) and jimsonweed (sacred datura). But several beloved garden staples — rich in nutrients and antioxidants — are also in the nightshade family and have been cultivated for centuries: tomatoes, peppers (sweet and hot), eggplant, tomatillos, and potatoes (aside from sweet potatoes).
Why the bad rap? A little tomato history explains the suspicion …
Tomatoes originated in the northern highlands of South America, where early wild varieties produced small, acidic fruit. Over centuries, indigenous farmers — especially the Aztecs of Central Mexico — selected and bred tomatoes for improved size and flavor, giving the plant its name, tomatl. Spanish explorers brought tomatoes to Europe in the 1500s, where Spain and Italy embraced them while much of Northern Europe remained suspicious. Because tomatoes resemble toxic plants such as belladonna, they were long considered witchy and dangerous, a belief that followed English settlers to North America.
Tomatoes slowly gained acceptance in the United States during the early 1800s. Thomas Jefferson famously grew and ate them at his home, Monticello, and public fear faded as tomatoes became a common inclusion in home gardens. By the late nineteenth century, seed saving and regional breeding produced hundreds of locally adapted varieties.
Nightshades get their toxic reputation from natural compounds called alkaloids. One of them, solanine, acts as a plant defense against insects. In edible nightshades, levels are negligible and safe for humans — except in potatoes that must be cooked. Green or sprouting potatoes contain higher levels of solanine and should not be eaten. So, it’s necessary to store them properly and discard any that have turned green.
Local Favorites
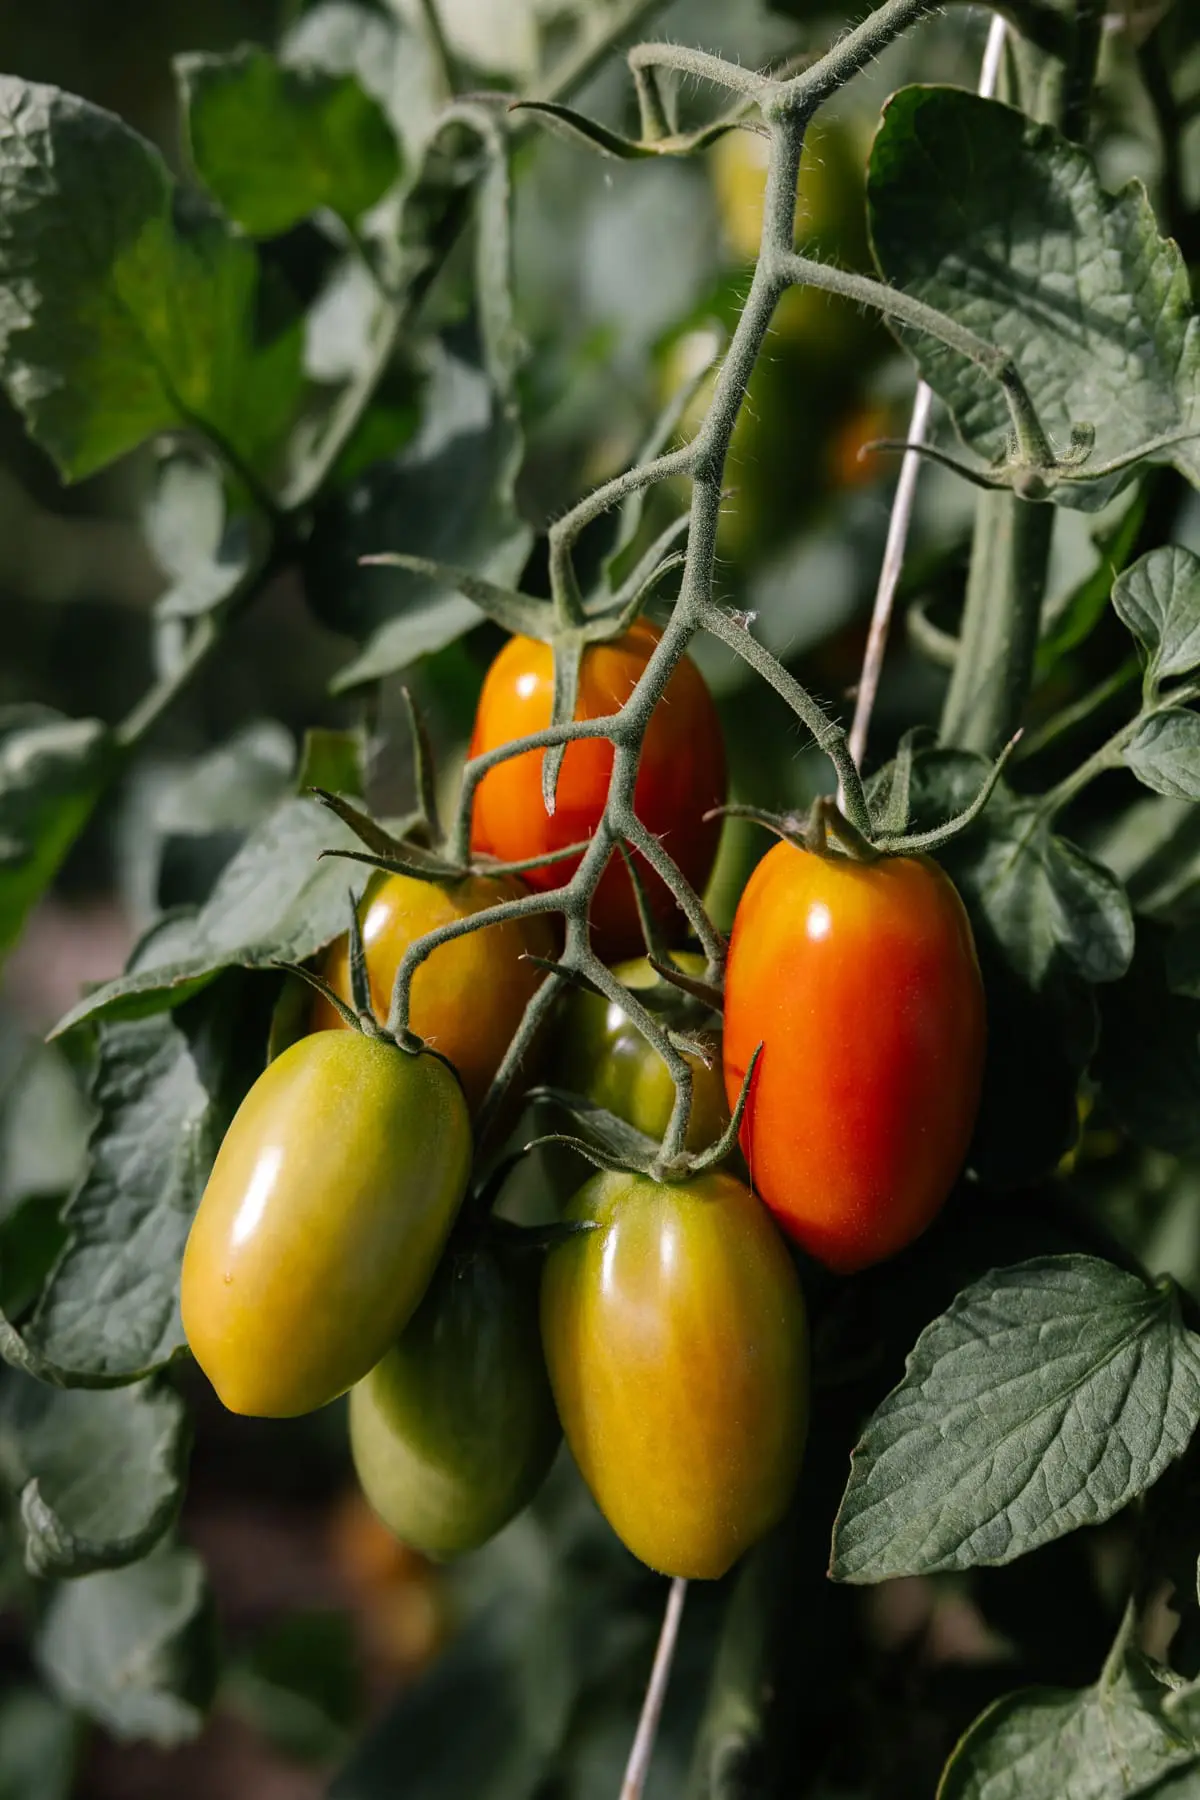
Tomatoes
Sungold, Early Girl, Valencia, Secura, Black Cherry
Peppers
Jalapeño, Shishito, Lunch Box, Jimmy Nardello, Carmen
Potatoes
Yukon Gold, Adirondack Blue, Kennebec, German Butterball, Purple Viking
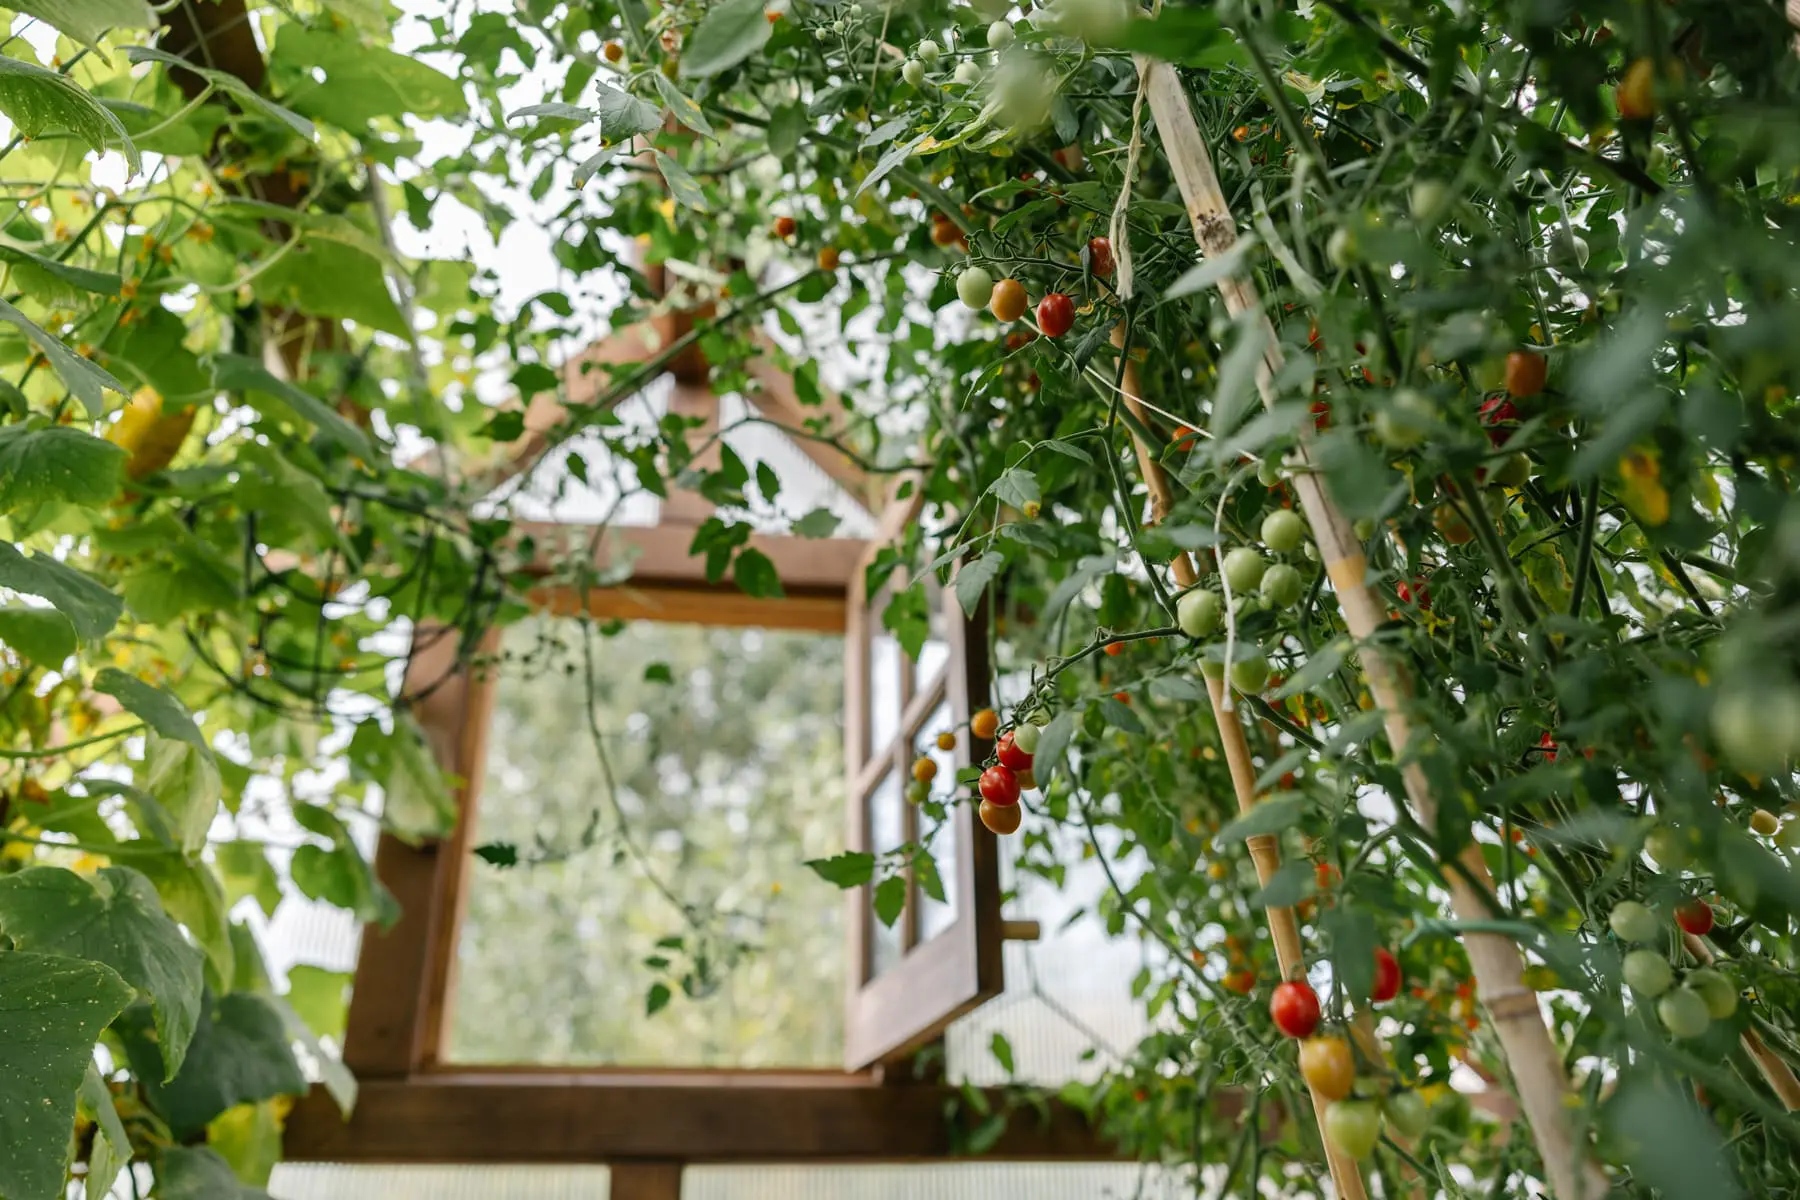
Growing Nightshades at Altitude
I’m a throw-it-in-the-ground, cross-my-fingers, and be-thankful-anything-grows type of gardener. So for this article, I leaned on Idaho Extension resources, talked to backyard hobbyists, and called the most passionate grower I know, Daisy Fair of Dig In Consulting in Hailey, Idaho. Daisy has built school gardens, CSAs, and farm projects across the Mountain West. Her philosophy is simple: Grow food in cooperation with the Earth, not in battle against it.
1. Timing Matters
Cold soil stalls nightshades. In this climate, except for potatoes, you essentially cannot directly sow tomatoes and peppers in an open garden. Instead, start seeds indoors six to eight weeks before the last frost, or better yet, purchase starts from reputable experts at local farms. Cosmic Apple Farms, Full Circle Farm, and Canewater Farms all sell seedlings in the spring.
Before moving seedlings from the comfort of your windowsill or greenhouse into the wild unpredictability of a Teton spring, they need to be “hardened off.” About 7 to 10 days before transplanting, place seedlings outside in a sheltered, shady spot for a few hours each day, bringing them back in at night. Slowly increase their exposure to direct sun and outdoor time each day. This process thickens cell walls, strengthens stems, and reduces transplant shock.
2. Soil First, Always …
Nightshades thrive in warm, compost-rich, biologically active soil.
Daisy uses fish and kelp fertilizers on seedlings (especially tomatoes) to provide a gentle, nutrient-rich, and bioavailable boost that promotes healthy and stress-resistant growth without burning delicate roots. Follow the directions to dilute in water and feed the seeds when planted. Once the second set of “true leaves” arrives, Daisy recommends “up-potting” into a 4-inch pot and re-feeding, followed by a final feeding when transplanting into the garden or a one-gallon pot.
Knowing that the soil in backyard gardens is rarely balanced in micronutrients, especially “engineered soils” from the nursery, Daisy uses a mineral supplement like Live Earth Product’s Crop Thruster once per season, and again if she notices a failure to thrive. But go easy on nitrogen — too much produces big leaves, bland fruit, and weak plants.
3. Microclimate Is Everything
Many cold-tolerant nightshade varieties grow well in mountainous regions when protected with walls of water or in a greenhouse early in the season.
Gardening “tricks” often fail because they try to defeat the climate. The ones that work buffer Mother Nature, rather than override her.
If you’re planting outdoors, locate your tomatoes in south-facing beds near stone walls, fences, or buildings that retain heat. Ask yourself: Where does the sun linger in the evening? That’s your tomato spot.
Instead of monocropping, consider companion planting — it’s essential for co-regulating garden stressors. An Italian-influenced example is planting tomatoes near basil, oregano, thyme, parsley, marigolds, or calendula, with onions or garlic nearby (but not too close). Different root depths mean less competition; aromatic herbs repel pests; flowers attract parasitic wasps and pollinators.
4. Greenhouse or Not?
Growing potatoes is pretty easy in the Tetons, since they reside underground, but tomatoes and peppers need warm days, cool nights, and moving air.
A heated greenhouse with good ventilation and humidity control is the best option for extending the season; however, too much heat can cause pollen sterility, and too much humidity invites fungal disease. An unheated hoop house or high tunnel works well, too. It warms the soil early, buffers the wind, and is easy to vent. Roll the sides up during warm days and close them at night. A “cool house”— raised beds with removable covers — also provides a suitable environment for growing nightshades.
If you choose to grow outside, “wall of water” plant protectors are a must in the mountains, according to Daisy. Think of them as spring jackets — thermal batteries that absorb heat during the day and release it at night. She uses water walls for tomatoes, peppers, and basil. They are not frost-proof, however, so you must add a row cover when the forecast predicts frost.
Growing nightshades in the Tetons isn’t about forcing a Mediterranean climate. It’s about working with rhythm, soil, and season. Choose wisely, warm the roots, and let adaptation do the rest.
“You, the grower, make all the difference in this relationship,” Daisy says. “Change things up and don’t give up until you find your thing. What works for you will depend on how much time and space you have and what you love to cook and eat.” tf
What Not to Do
- Don’t plant nightshades where other nightshades grew last year (disease persists in monocropped soil).
- Don’t overfeed nitrogen.
- Don’t isolate plants. Some say lone tomatoes are anxious tomatoes.

Tomato Crostata With Honey-Spice Glaze
—
Serves 4 to 6
When late-summer tomatoes are at their peak, this free-form tart is my go-to. It looks impressive but couldn’t be more forgiving. Mix and match herbs, swap cheeses, use whatever’s abundant.
—
For the Crust:
1 cup all-purpose flour, plus more for rolling
½ cup fine cornmeal
¼ teaspoon fine sea salt
10 tablespoons cold unsalted butter, cut into small cubes
½ cup grated extra-sharp cheddar cheese
6 tablespoons ice water
- In a food processor or bowl with a pastry cutter, pulse flour, cornmeal, salt, butter, and cheese until the mixture resembles coarse crumbs with pea-size pieces.
- Add ice water a tablespoon at a time until the dough comes together.
- Remove the dough from the food processor, form it into a disk, wrap it, and refrigerate it for at least 30 minutes (or up to 2 hours).
For the Filling:
1½ pounds tri-colored tomatoes, sliced ¼-inch thick (or cherry tomatoes, halved)
1 teaspoon kosher salt
3 tablespoons apple cider vinegar
2 tablespoons local honey
2 sprigs each fresh thyme, rosemary, and sage
2 tablespoons chopped fresh herb leaves (see herbs above)
2 tablespoons olive oil
3 cloves garlic, smashed and peeled
1 cup grated extra-sharp cheddar cheese
Ground black pepper, to taste
1 large egg
Flaky sea salt (such as Maldon), to taste
1. Prep the tomatoes.
Line a rimmed baking sheet with a double layer of paper towels. Arrange tomato slices in a single layer, sprinkle with kosher salt, and top with another layer of paper towels. Place a heavy plate on top, and let it sit for 20 to 30 minutes to draw out excess moisture.
2. Make the honey-spice glaze. In a small saucepan, simmer the vinegar, honey, and whole herb sprigs for about 2 minutes. Add the olive oil and garlic; cook gently for another 3 minutes until fragrant. Remove from heat and discard the herb sprigs.
3. Assemble the crostata. Preheat the oven to 400°F. Roll the chilled dough on a floured surface into a 12-inch round. Transfer it to a parchment-lined baking sheet.
Sprinkle grated cheese over the dough, leaving a 2 ½-inch border. Arrange tomatoes decoratively on top. Drizzle with garlic-honey glaze and sprinkle with chopped herbs and black pepper.
Fold the edges of the dough up and over the filling, pleating as you go.
4. Finish and bake.Whisk the egg with 1 teaspoon of water, then brush it over the crust. Sprinkle the crust and filling lightly with flaky sea salt.
Bake for about 35 minutes, until the crust is deeply golden and the tomatoes are soft and caramelized.
Serve warm or at room temperature.
*Adapted from Melissa Clark, New York Times Cooking
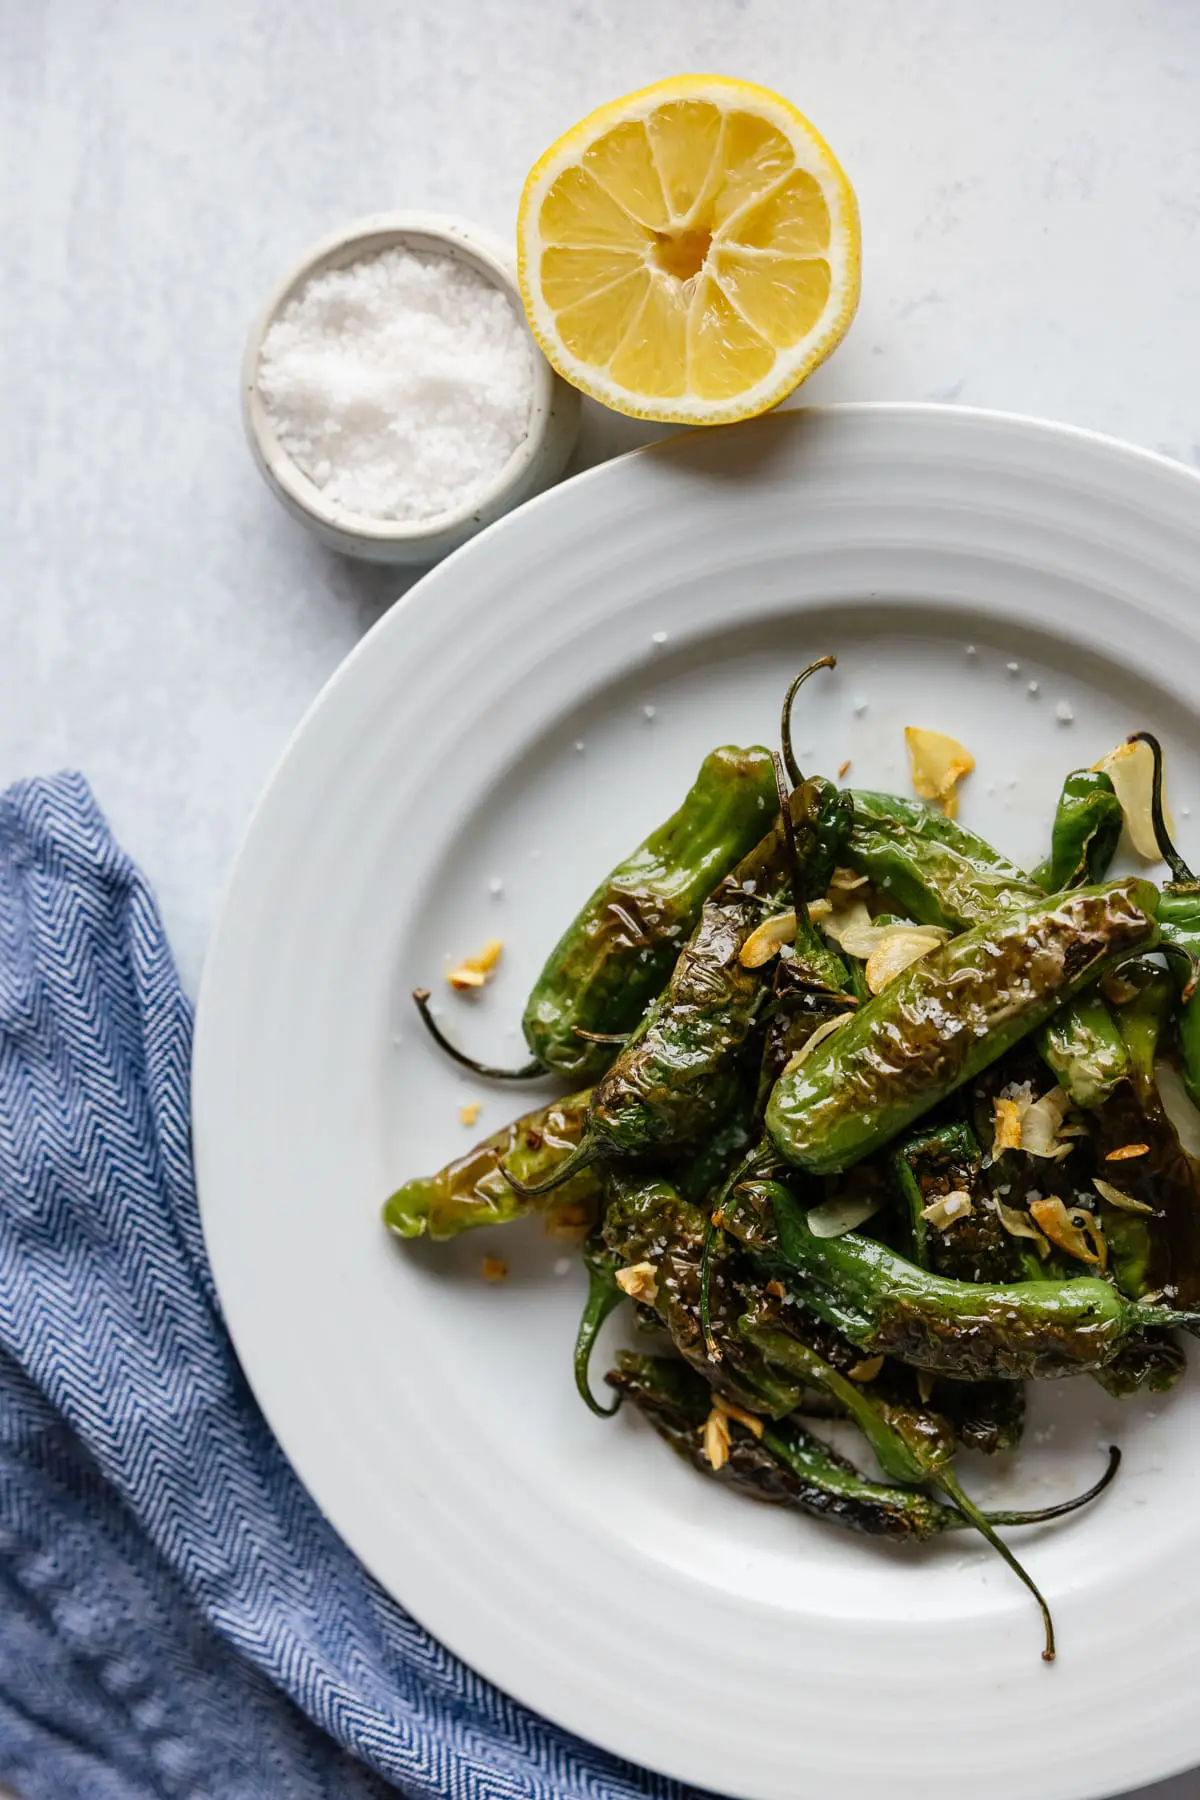
Blistered Shishitos With Crispy Garlic
—
Serves 4 as a side dish
Local chef Arden Oksanen, a Jackson Hole native, likes to keep it simple with shishitos harvested from his unheated greenhouse at the base of the Aspen Trail in Driggs.
—
1 dozen shishito peppers
2 tablespoons butter
2 cloves fresh garlic, thinly sliced
1 half lemon, juiced
Flaky sea salt, to taste
- In a large saucepan over low to medium heat, melt the butter, then add the garlic and saute until golden brown.
- Remove the garlic from the pan with a slotted spoon and set it on a paper towel.
- Increase the heat to medium-high and add shishitos. Cook, stirring frequently, until they are blistered on all sides.
- Squeeze lemon juice over the peppers, then remove them from the heat. Arrange the peppers on a plate, then break up the crispy garlic and sprinkle it over the top with flaky sea salt to serve.
*Note: Experiment with infused olive oils or avocado oil (which has a higher smoke point and is less likely to burn). A dash of soy sauce or sesame oil can be used in place of the lemon.
Local Resources:
- Graze Garden & Home: High-altitude garden essentials, Jackson; grazegardenandhome.com
- Grow Huts: Custom greenhouses, chicken coops, and sheds, Driggs; growhuts.com
- MD Nursery & Landscaping: Full-service garden center and nursery, Driggs; mdlandscaping.com
- Southpark Nursery & Landscaping: Wholesale nursery and landscaping supplies, Jackson; southparklandscaping.com
- Trail Creek Nursery: Mountain-hardy garden and landscaping needs, Victor;trailcreeknursery.com
- Westbank Garden Center: Garden and landscaping supplies, Wilson; westbankgardencenter.com
Extension Resources
- University of Wyoming Extension: wyoextension.org/garden/growing-foods
- University of Idaho Extension: uidaho.edu/extension/publications